MacOS for OpenShift POC
Setting up Minikube to simulate an OpenShift environment on your Mac can be done by following these steps:
Prerequisites
-
Homebrew: Make sure you have Homebrew installed on your Mac.
-
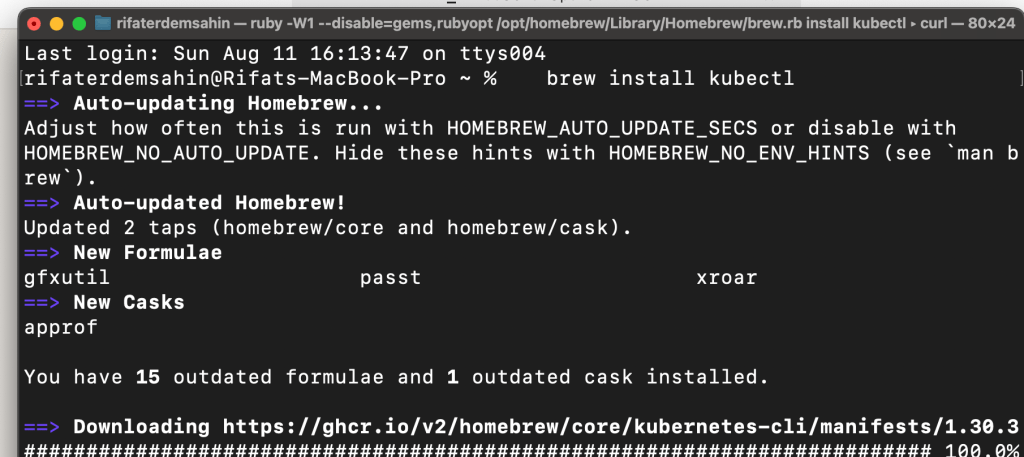
kubectl: Kubernetes command-line tool should be installed.
brew install kubectl
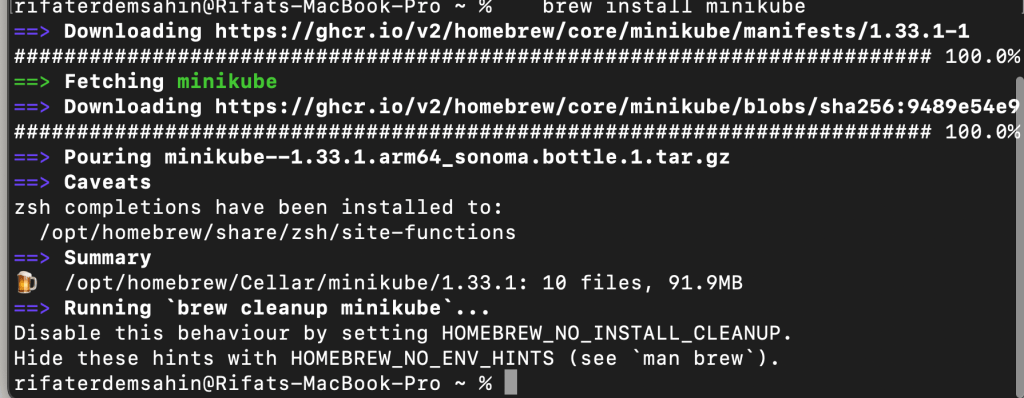
- Minikube: Install Minikube using Homebrew.
brew install minikube
-
Hypervisor: Minikube can run on various hypervisors like VirtualBox or Docker. For macOS, Docker is commonly used.
-
Docker: Install Docker Desktop for Mac from Docker’s official website.

-
Or install VirtualBox:
brew install --cask virtualbox
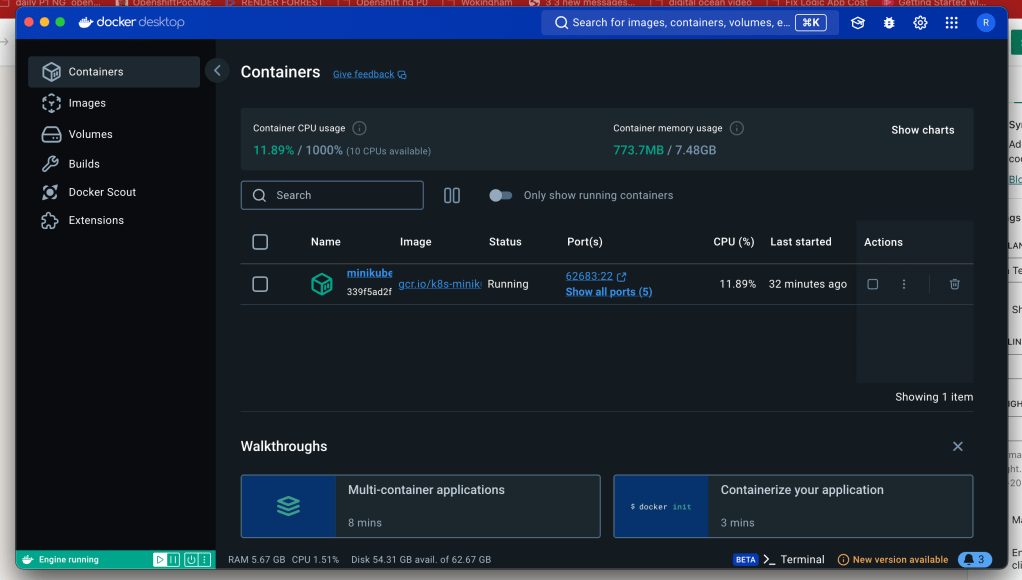
Step 1: Start Minikube
Start Minikube with the OpenShift profile:
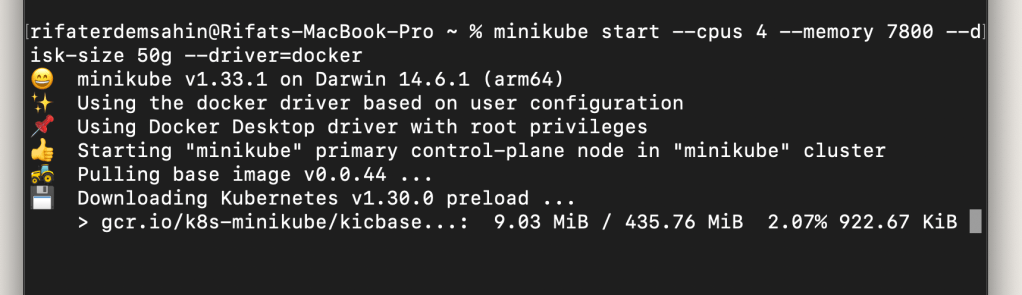
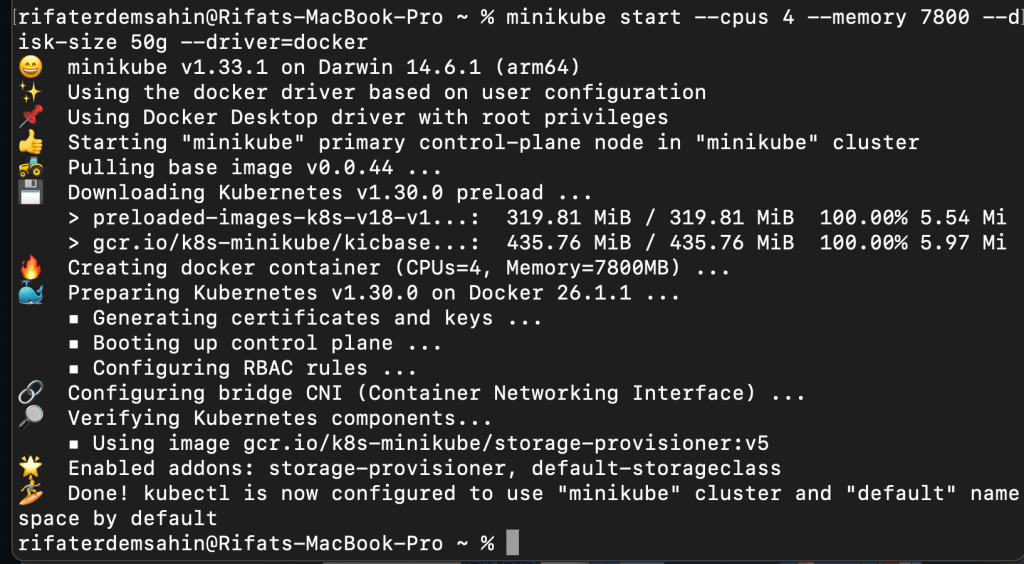
minikube start --cpus 4 --memory 7800 --disk-size 50g --driver=docker
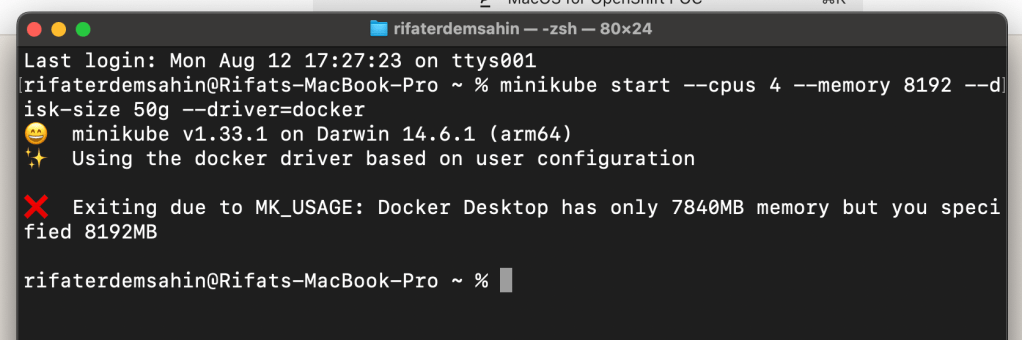
Adjust the CPU, memory, and disk-size according to your machine’s resources.
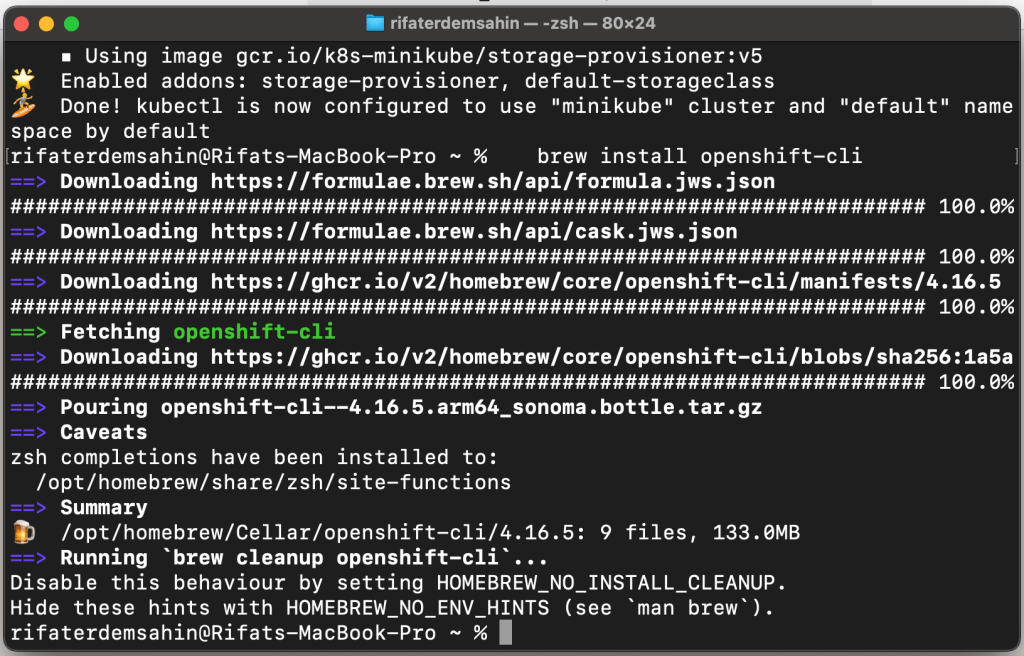
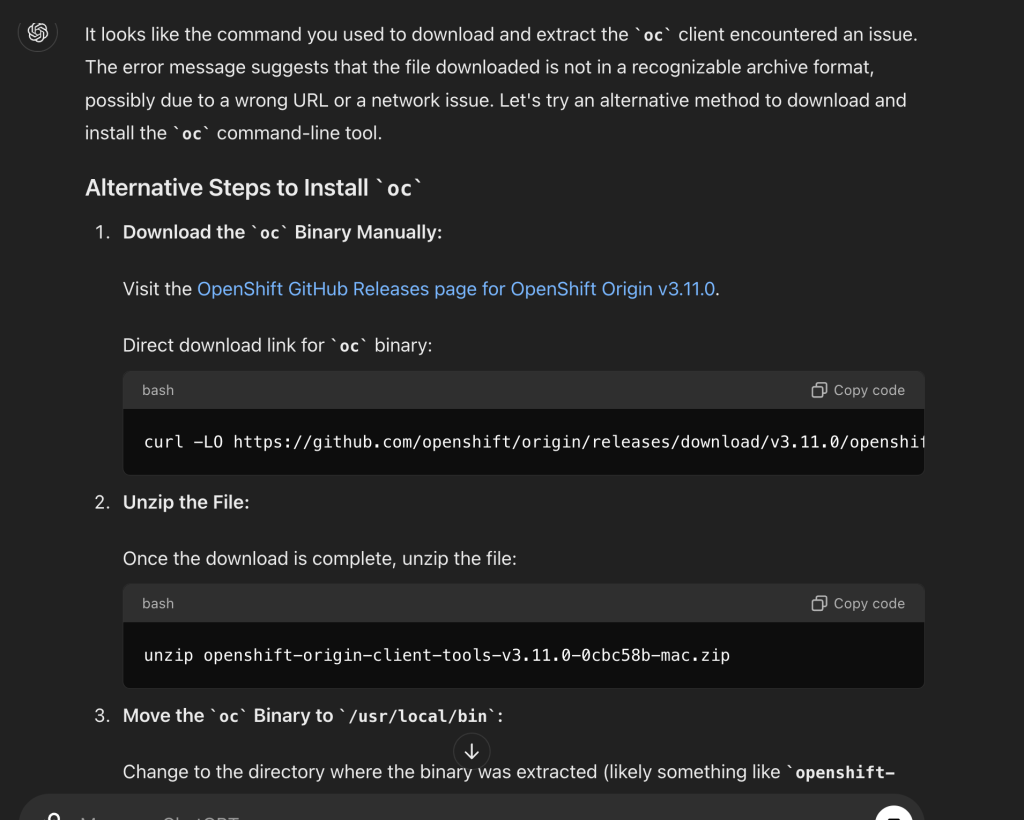
Step 2: Install OpenShift Client (oc)
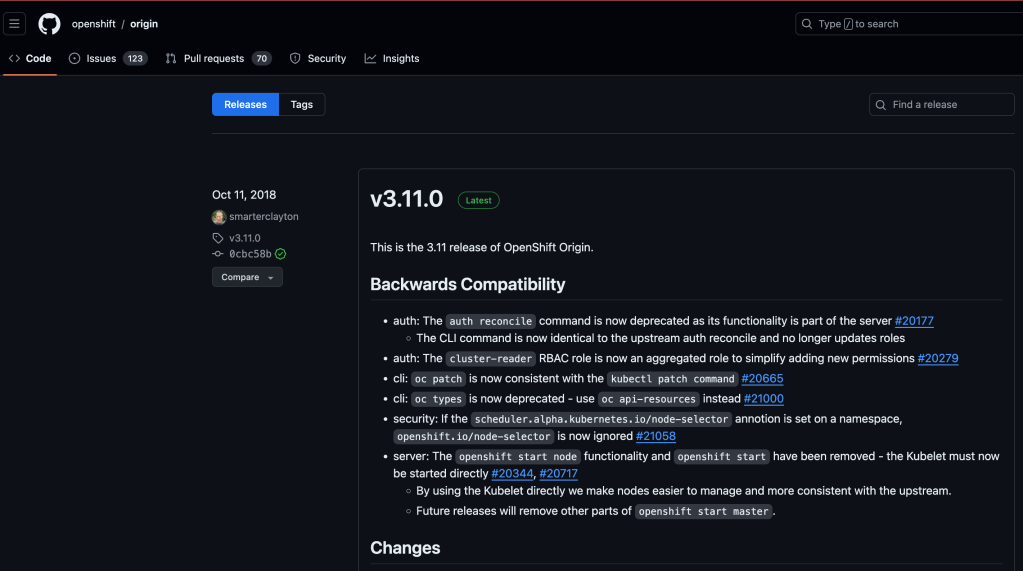
The oc command-line tool is used to interact with OpenShift clusters. You can download it from the OpenShift GitHub releases page.
- Download
occlient:
brew install openshift-cli
GPT > instructions straight forward
Step 3: Install OpenShift on Minikube
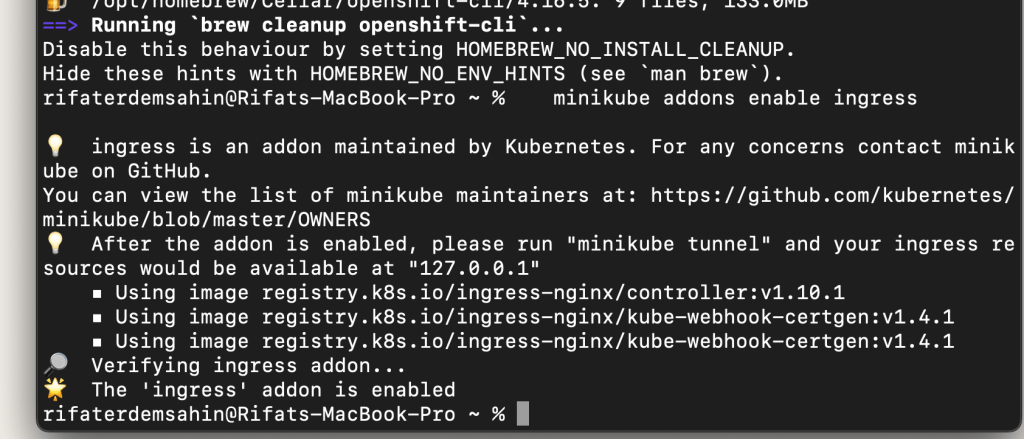
- Enable the OpenShift add-ons in Minikube:
minikube addons enable ingress
minikube addons enable dashboard
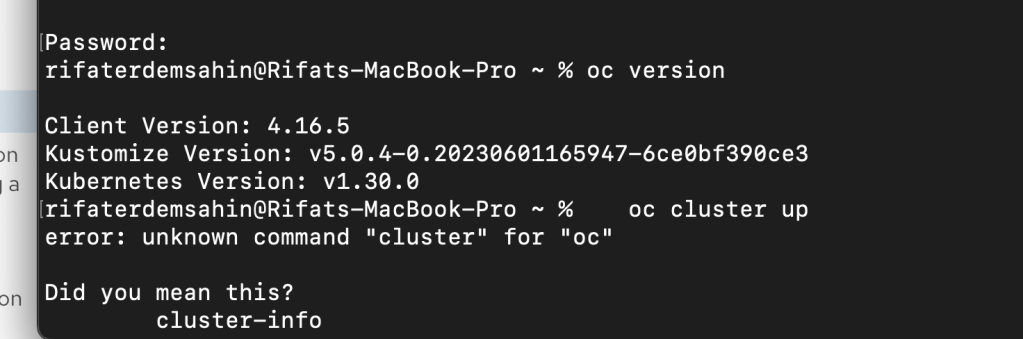
- Deploy the OpenShift Origin on Minikube: To deploy OpenShift Origin, you can use
oc cluster upcommand. However, this command is deprecated in newer versions of OpenShift. Instead, we use the following method:
minikube start --cpus 4 --memory 7800 --disk-size 50g --driver=docker --container-runtime=cri-o
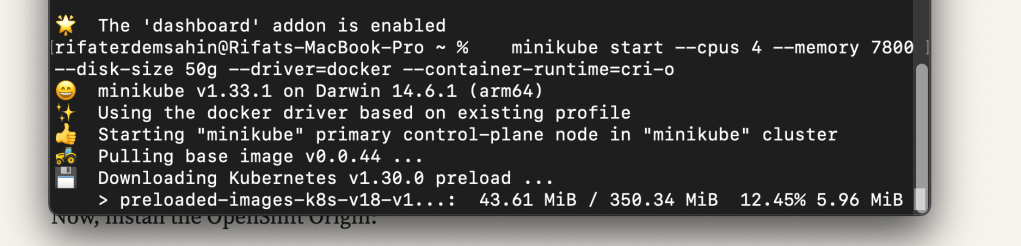
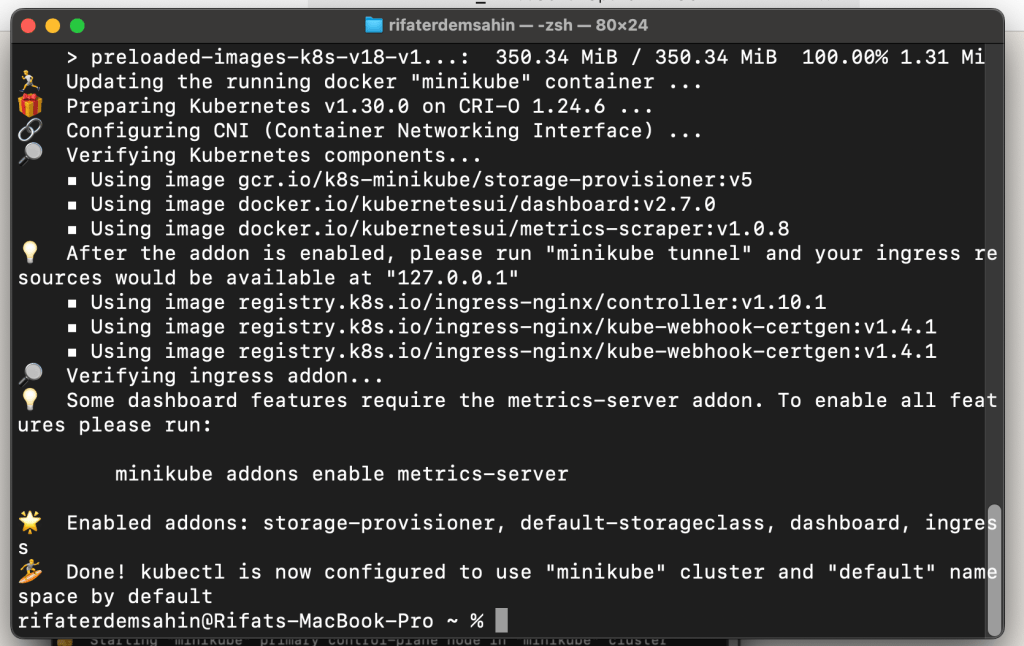
Now, install the OpenShift Origin:
curl -L https://github.com/openshift/origin/releases/download/v3.11.0/oc.tar.gz | tar -xzv -C /usr/local/bin
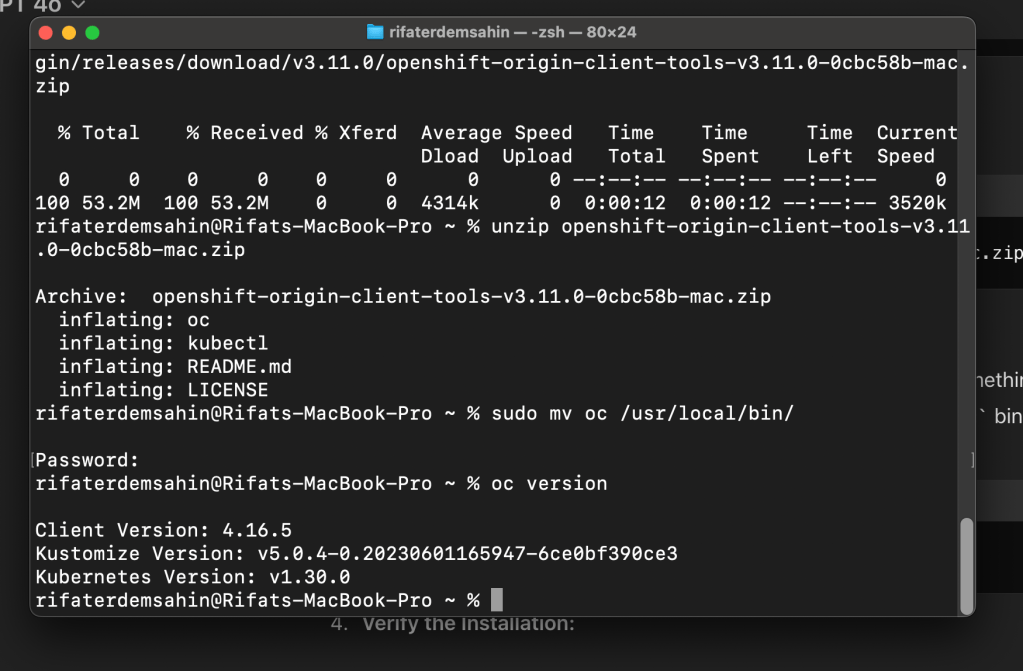
Start the OpenShift cluster:
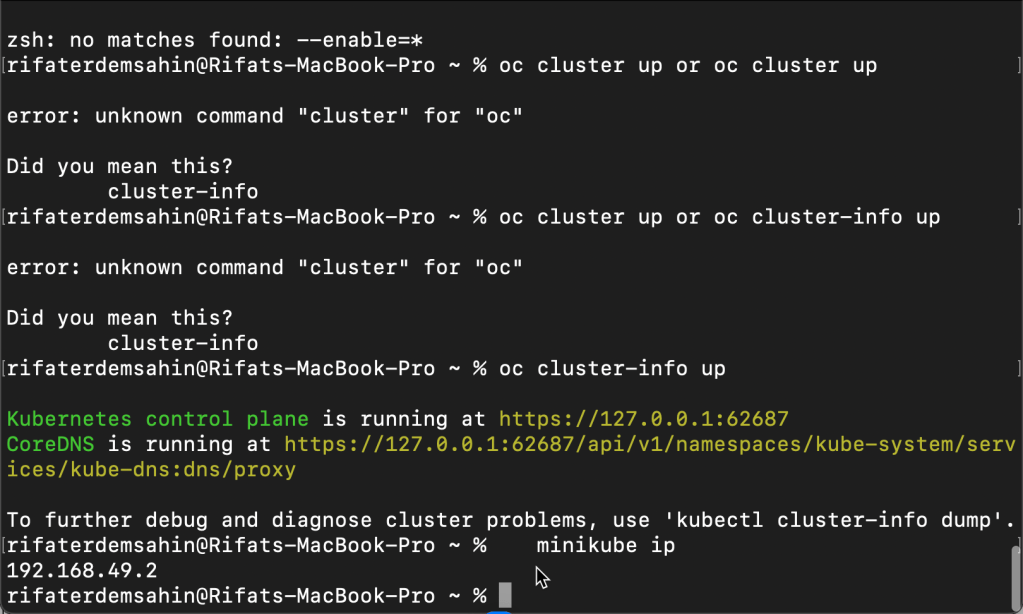
oc cluster up
This command will start the OpenShift environment within your Minikube instance.
openshift-origin-client-tools-v3.11.0-0cbc58b-mac.zip >>> did not work

how does it turn it in
The command oc cluster up that you tried to run is no longer supported in recent versions of the OpenShift CLI (oc). Previously, oc cluster up was used to start a local OpenShift cluster for development purposes, but this feature has been deprecated and removed in favor of using more robust and supported solutions like minishift, CRC (CodeReady Containers), or deploying OpenShift on cloud providers directly.
^^^ WINDOWS VERSION ^^^ >>> dowload mac
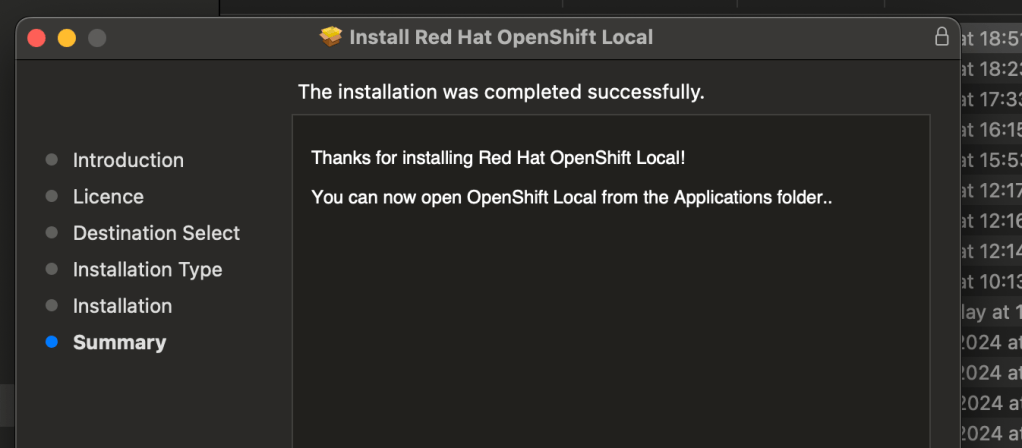
double run >
Secret needed
Password

start takes time
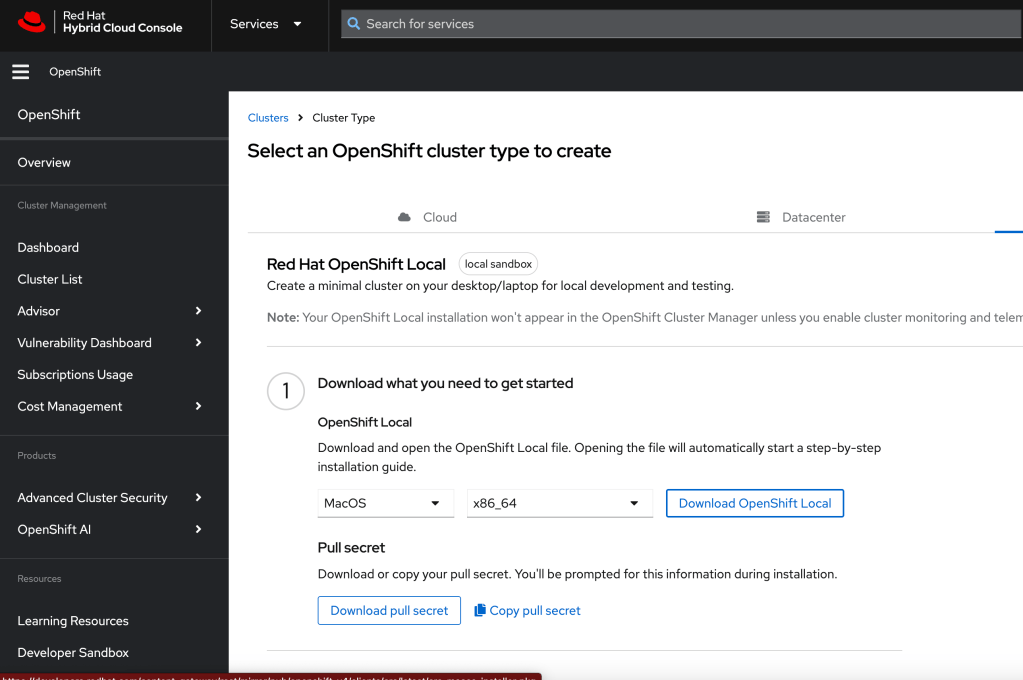
password downloaded from > https://console.redhat.com/openshift/create/local
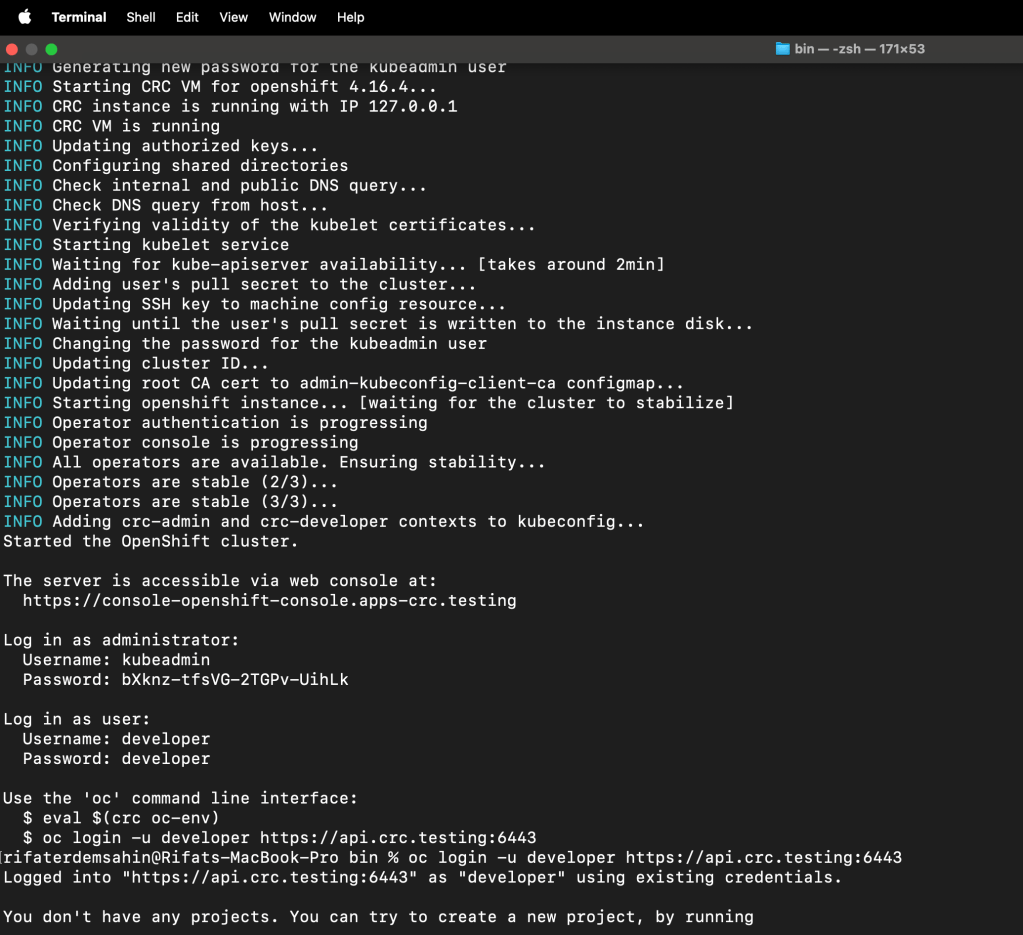
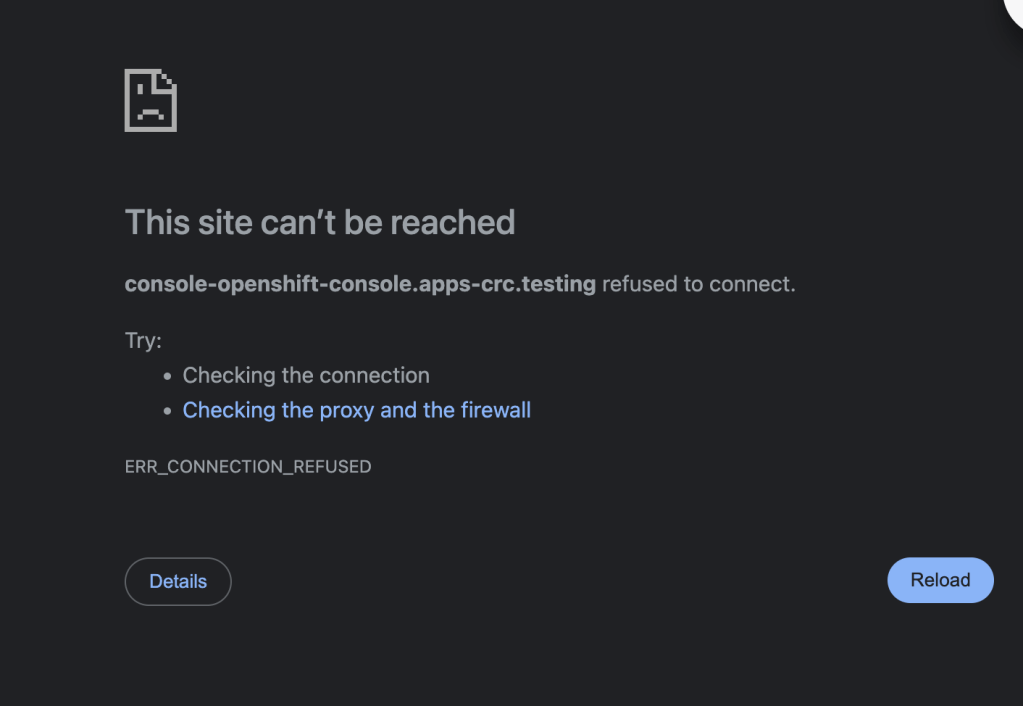
`Started the OpenShift cluster.
The server is accessible via web console at:
https://console-openshift-console.apps-crc.testing
Log in as administrator:
Username: kubeadmin
Password: bXknz-tfsVG-2TGPv-UihLk
Log in as user:
Username: developer
Password: developer
Use the 'oc' command line interface:
$ eval $(crc oc-env)
$ oc login -u developer https://api.crc.testing:6443
rifaterdemsahin@Rifats-MacBook-Pro bin % `
Alternatives to oc cluster up
-
CodeReady Containers (CRC):
-
CRC is the recommended tool for running a local OpenShift cluster on your machine. It provides a minimal OpenShift 4.x cluster for development and testing purposes.
-
You can download and set up CRC from the official CodeReady Containers page.
-
After installation, you can start the cluster using:
bash crc start -
Minishift:
-
Minishift was previously used for running OpenShift 3.x locally. It is still available but is outdated compared to CRC.
-
You can still use Minishift for OpenShift 3.x:
bash minishift start -
Using Kubernetes/Minikube:
-
If you need a simple Kubernetes cluster instead of OpenShift, you can use Minikube, which is a tool for running a local Kubernetes cluster.
-
You can start a Kubernetes cluster using:
bash minikube start
To summarize:
-
For OpenShift 4.x, use CodeReady Containers (CRC).
-
For OpenShift 3.x, consider using Minishift.
-
For Kubernetes development, you can use Minikube.
If you were specifically looking for a way to run an OpenShift environment locally, I recommend moving to CRC.
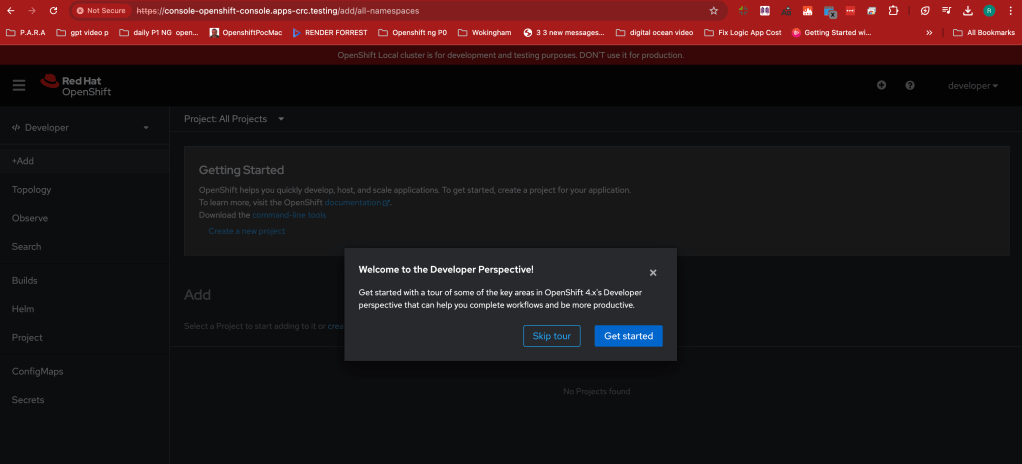
Step 4: Access OpenShift Console
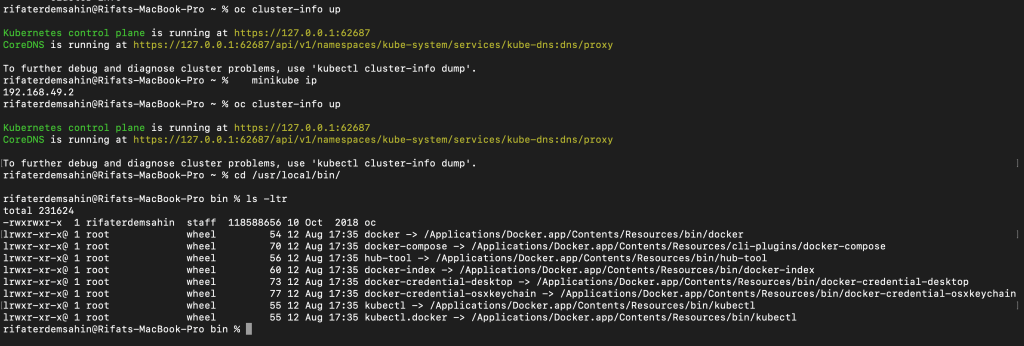
- Get the IP Address of your Minikube instance:
minikube ip
- Access the OpenShift Web Console: Open a web browser and navigate to:
https://
192.168.49.2
https://192.168.49.2:8443/console
Replace <MINIKUBE_IP> with the IP address you retrieved earlier.
The default login credentials are:
-
Username:
developer -
Password:
developer
Step 5: Deploy Applications
You can now use oc commands to deploy and manage your applications within the OpenShift environment running on Minikube. Use the OpenShift console for a graphical interface to manage your clusters and applications.
Troubleshooting
-
Cluster Not Starting: If
oc cluster upfails to start the cluster, ensure Docker is running correctly and that the necessary ports are available. -
Insufficient Resources: If your Mac is running low on resources, consider reducing the memory or CPU allocated to Minikube.
By following these steps, you should have a working OpenShift environment running on Minikube on your Mac.
url from the output
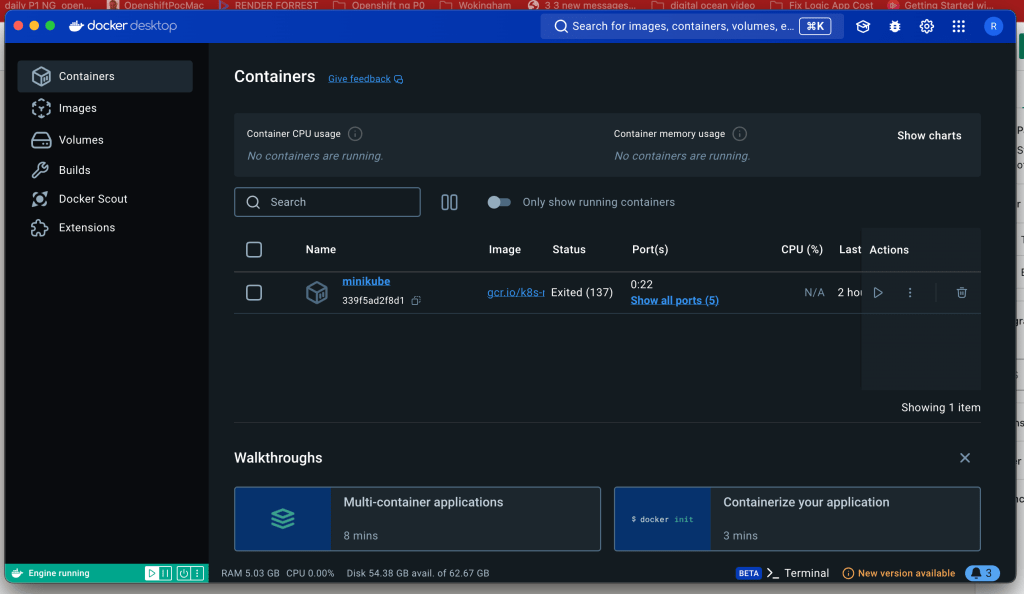
Turning the docker off
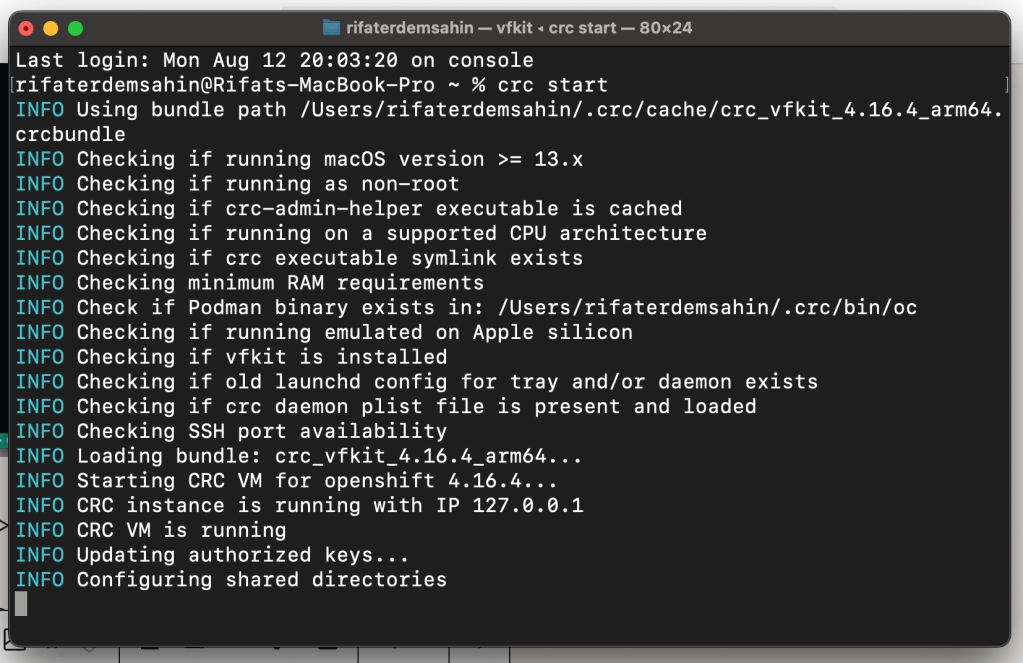
The output you've shared is related to starting an OpenShift cluster using CodeReady Containers (CRC) on a local machine. Here’s a brief explanation of each part:
-
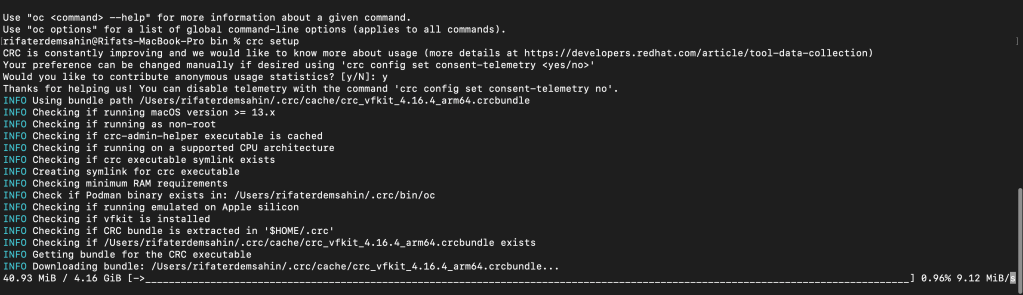
Environment: You're running this command on a MacBook Pro. The setup is using CRC with vfkit, which is a virtual machine (VM) manager optimized for macOS, especially for Apple Silicon (ARM architecture).
-
Process Summary:
-
CRC Setup: The system checks your macOS version, CPU architecture, and other requirements like available RAM.
-
Bundle Loading: It loads the CRC bundle, which contains the necessary files to run OpenShift locally.
-
VM Creation: A virtual machine is created and started, which will host your OpenShift cluster.
-
Cluster Setup: The setup process includes generating SSH keys, passwords, configuring DNS, starting services like kubelet, and ensuring the kube-apiserver is available.
-
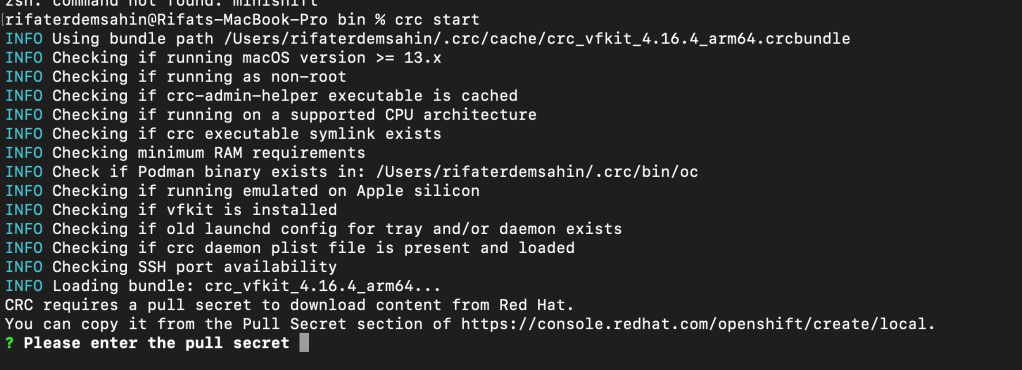
Pull Secret: You need to provide a pull secret from Red Hat, which allows access to OpenShift container images and updates.
-
Finalization: The OpenShift cluster is started, and the system waits for it to stabilize. Once all operators (background services) are running correctly, the setup is complete.
Docker/Minikube Context
This setup is not directly related to Docker or Minikube. Instead, it's a standalone OpenShift environment running inside a VM on your local machine using CRC. While Minikube is typically used to run a local Kubernetes cluster, CRC is specifically tailored to running an OpenShift cluster locally.
-
Docker: Not directly involved in this process unless you are using Docker containers within your OpenShift cluster.
-
Minikube: Not involved, as you're using CRC for OpenShift instead.
Conclusion
The command and process you are running pertain to setting up a local OpenShift environment using CRC on macOS, not specifically using Docker or Minikube. The OpenShift cluster runs within a VM managed by CRC (vfkit in this case), which is different from Minikube, which typically runs a local Kubernetes cluster
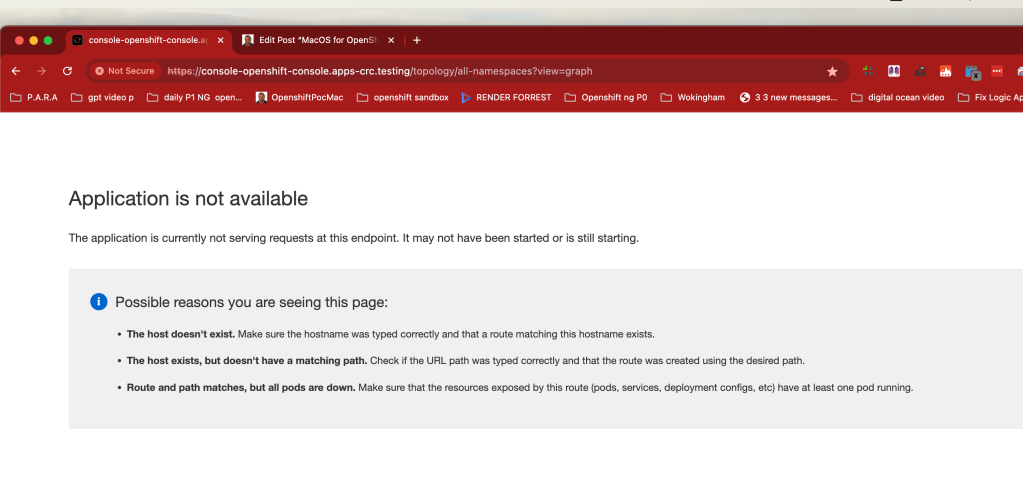
crc still works in the back >>> lets restart and test
restart did not work
crc start
while trying to turn on
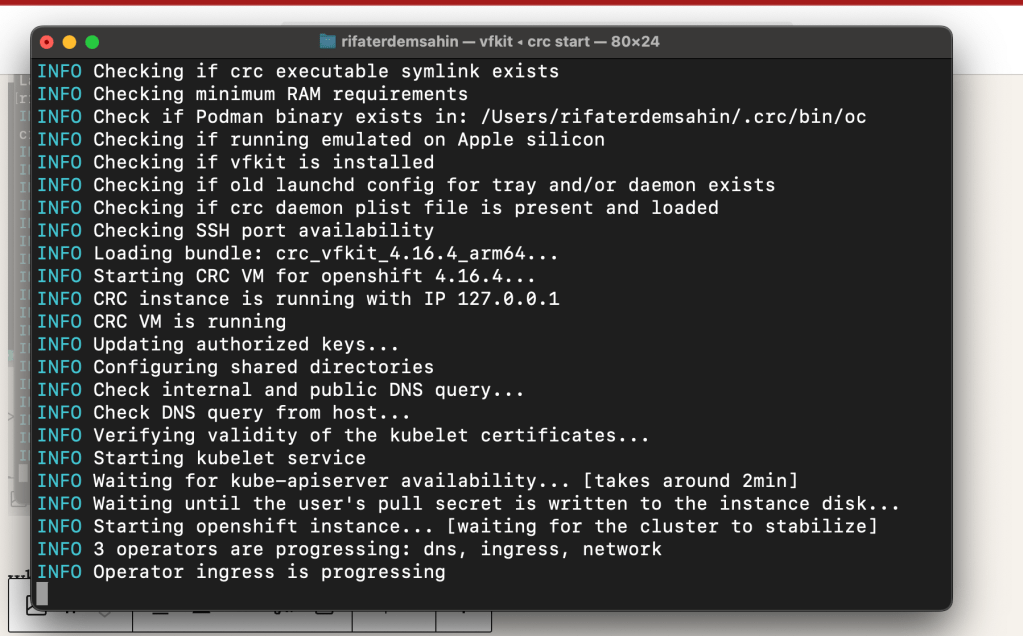
2 minutes it turns on
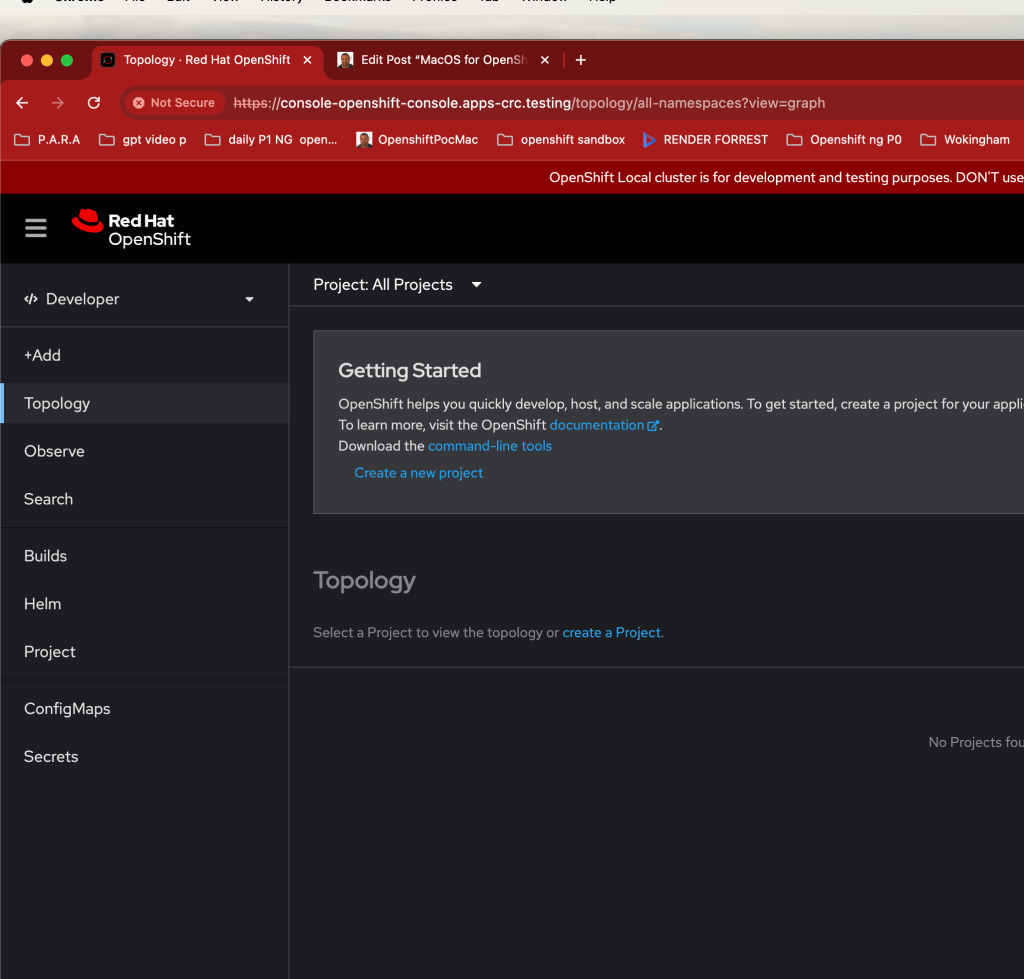
dns done > https://console-openshift-console.apps-crc.testing/topology/all-namespaces?view=graph
Explain by GPT>
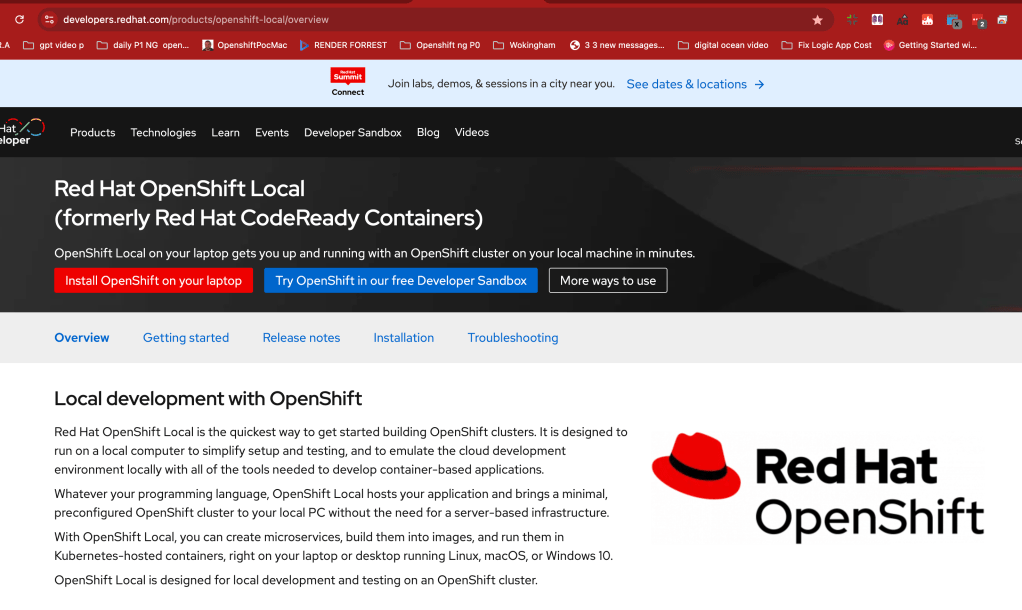
Setting Up an OpenShift Cluster on macOS: A Quick Guide
Setting up a local OpenShift cluster can seem daunting, especially if you're working on macOS. But with tools like CodeReady Containers (CRC), the process becomes quite manageable. Here's a step-by-step walkthrough of setting up your OpenShift environment using CRC on a Mac.
Prerequisites
Before you start, make sure you meet the following requirements:
-
macOS Version: Ensure you're running macOS 13.x or later.
-
Hardware: CRC is optimized for Apple silicon (M1, M2) and requires a supported CPU architecture.
-
RAM: CRC requires a minimum amount of RAM; make sure your machine meets this requirement.
Steps to Start Your OpenShift Cluster
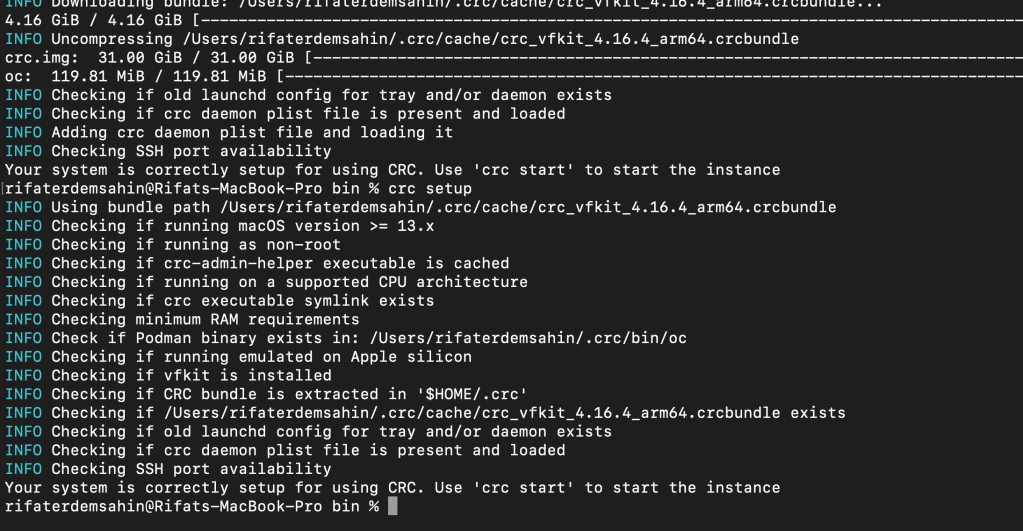
- Initialize the CRC Command:
Open your terminal and start the CRC process by entering the command:
crc start
-
System Checks:
The CRC will perform several checks to ensure your environment is ready: -
macOS Version Check: Verifies that you're running the correct version of macOS.
-
Non-Root Execution: Ensures that the command is being run as a non-root user.
-
CPU Architecture: Confirms compatibility with your CPU.
-
RAM Requirements: Checks if your system has the minimum required RAM.
-
Podman Binary Check: Verifies if the necessary Podman binary exists.
-
Apple Silicon Check: Ensures the process isn’t being emulated and is running natively on Apple Silicon.
-
VFKit Installation: Checks if VFKit, a virtualization framework, is installed.
-
Launchd Configurations: Looks for old configurations that might conflict with CRC.
-
Daemon Plist File: Ensures the CRC daemon plist file is present and loaded.
-
SSH Port Availability: Confirms that the SSH port is available for use.
-
Loading the OpenShift Bundle:
CRC will load the OpenShift bundle from the specified path:
INFO Loading bundle: crc_vfkit_4.16.4_arm64...
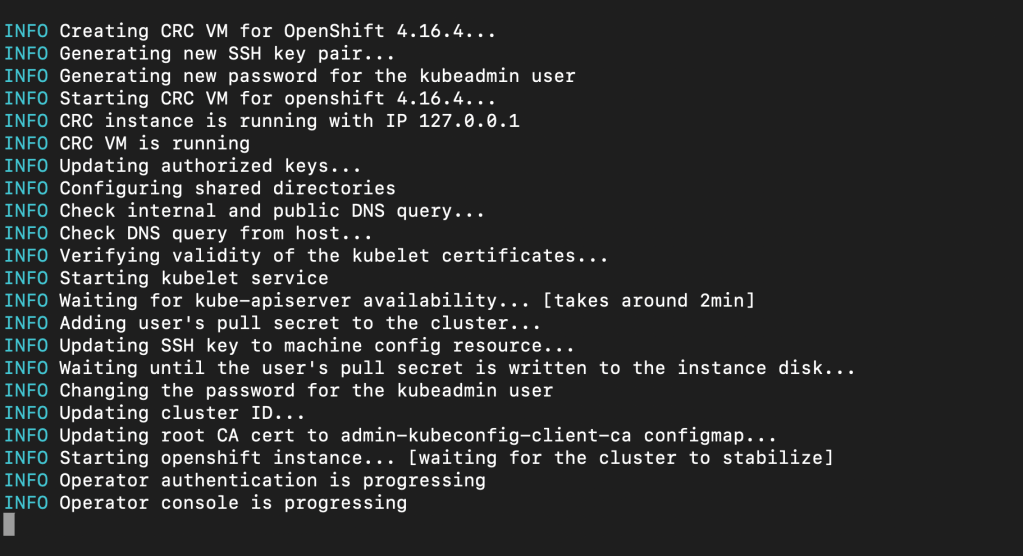
- Starting the CRC VM:
The CRC virtual machine is initiated to run the OpenShift cluster:
INFO Starting CRC VM for openshift 4.16.4...
-
OpenShift Cluster Initialization:
Once the VM is running, CRC starts the necessary services: -
Updating SSH Keys: The authorized keys are updated.
-
Configuring Shared Directories: The shared directories between the host and the VM are configured.
-
DNS Configuration: Internal and public DNS queries are checked.
-
Kubelet Service: The kubelet service, which is responsible for managing Kubernetes pods, is started.
-
Cluster Stabilization:
After the initial setup, CRC waits for the OpenShift cluster to stabilize. This includes verifying the status of operators like DNS, ingress, and network. -
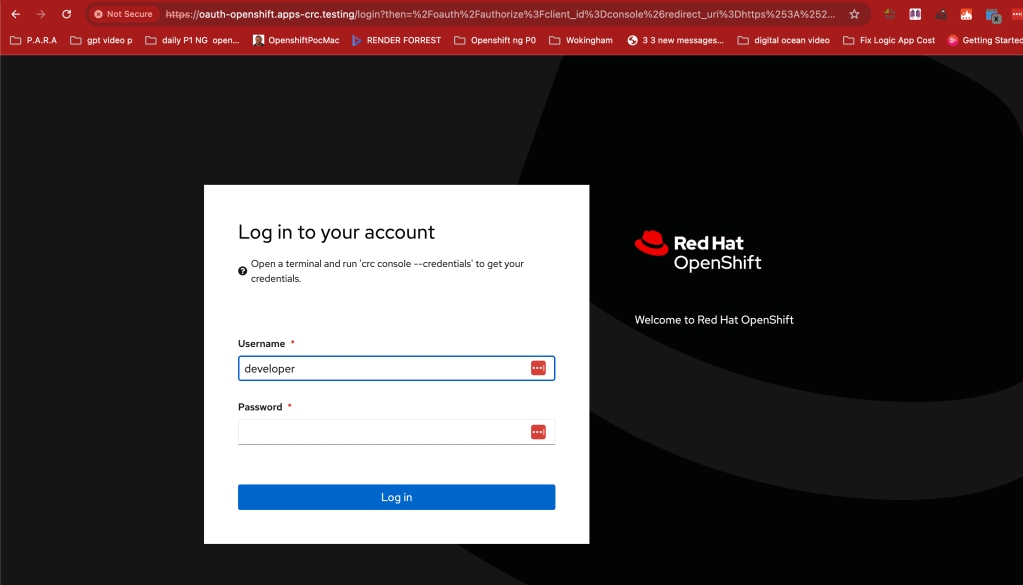
Accessing the OpenShift Console:
Once the cluster is stable, you can access the OpenShift web console:
The server is accessible via web console at:
https://console-openshift-console.apps-crc.testing
Use the provided credentials to log in:
-
Administrator Username:
kubeadmin -
Administrator Password:
bXknz-tfsVG-2TGPv-UihLkAlternatively, you can log in as a developer: -
Username:
developer -
Password:
developer -
Using the OpenShift CLI:
To interact with your OpenShift cluster via the command line, use theocCLI:
$ eval $(crc oc-env)
$ oc login -u developer https://api.crc.testing:6443
Conclusion
By following these steps, you can quickly set up a local OpenShift cluster on your macOS device using CRC. This environment is ideal for developers and system administrators who want to experiment with OpenShift locally before deploying on a larger scale. With your cluster up and running, you can now dive into building and managing your applications in a Kubernetes-powered environment.
Happy coding!
Imported from rifaterdemsahin.com · 2025