🚀 How to Update Windows Using PowerShell 💻
Keeping your Windows system up-to-date is crucial for performance and security. PowerShell provides a powerful way to manage updates without relying on the GUI, allowing you to automate and streamline the process. Here’s a step-by-step guide on how to update Windows using PowerShell.
🛠️ Step 1: Open PowerShell as Administrator
To start, you’ll need to run PowerShell with elevated privileges:
-
Right-click the Start Menu.
-
Select Windows PowerShell (Admin).
🖥️ Pause here and take a screenshot of the process if you need!
🚀 Step 2: Install the PSWindowsUpdate Module
The PSWindowsUpdate module allows you to manage Windows updates from PowerShell. Start by running these commands:
Install-Module PSWindowsUpdate
Import-Module PSWindowsUpdate
Get-WindowsUpdate
📸 At this point, feel free to grab a screenshot to capture the commands in action!
These commands:
-
Install the
PSWindowsUpdatemodule that gives you control over Windows Updates. -
Import the module so you can use its functions.
-
Check for available updates on your system.
💻 Step 3: Install Windows Updates
Once you’ve checked for available updates, it's time to install them. Run the following command to install all updates and automatically reboot if required:
Install-WindowsUpdate -AcceptAll -AutoReboot
⚙️ Pro Tip: This command automates the process, so make sure to save any open files as your computer will reboot if necessary.
🔧 Optional: Install Specific Updates
If you’re looking to install a specific update, you can find and install it using its KB Article ID. Use this command:
Get-WindowsUpdate -KBArticleID "KB1234567" | Install-WindowsUpdate
📸 Another good spot for a screenshot! Especially useful for tutorials.
🎯 Why PowerShell for Updates?
Using PowerShell gives you more control and the ability to automate the process. This is especially useful if you’re managing multiple systems or running scheduled maintenance scripts.
🌐 Connect with Me
Let’s stay connected! Reach out if you have any questions or want to discuss more automation tips.
-
💼 LinkedIn: https://www.linkedin.com/in/rifaterdemsahin/
-
🐦 Twitter: https://x.com/rifaterdemsahin
-
🎥 YouTube: https://www.youtube.com/@RifatErdemSahin
-
💻 GitHub: https://github.com/rifaterdemsahin
🚀 Now you’re ready to manage Windows updates like a pro using PowerShell!
SIDE NOTE
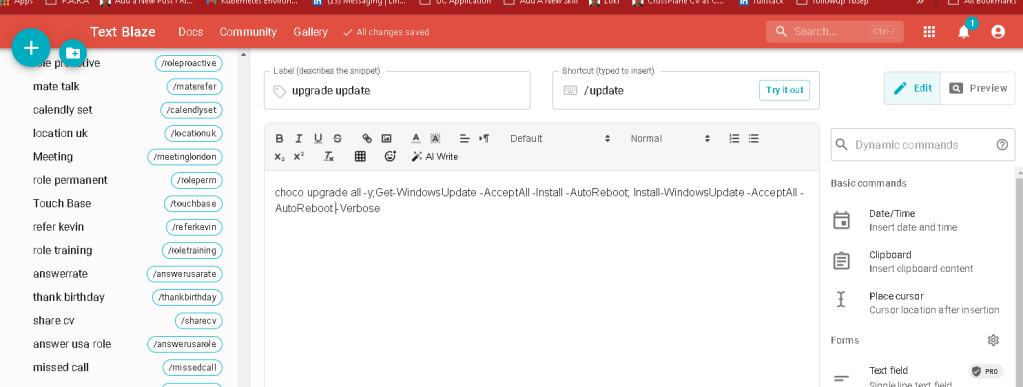
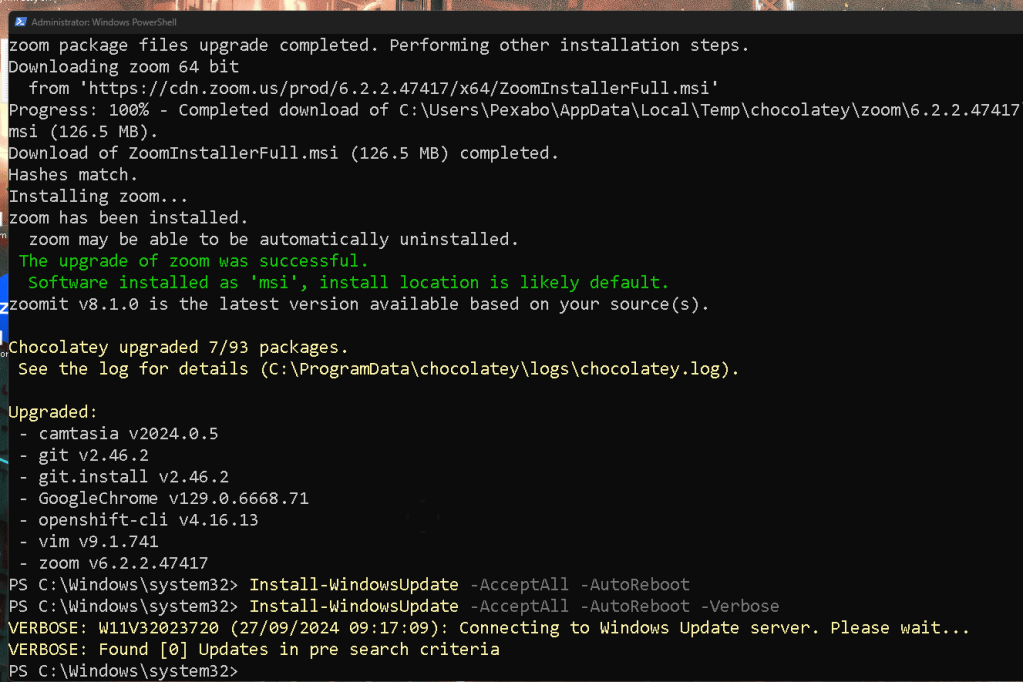
If you'd like to see detailed output during the update process, you can add the -Verbose flag to the Install-WindowsUpdate command. This will provide more information about what’s happening at each step.
Here’s the modified command:
Install-WindowsUpdate -AcceptAll -AutoReboot -Verbose
The -Verbose parameter outputs detailed information about each stage of the update process, which is especially useful for debugging or just understanding what's going on behind the scenes.
Output Example:
-
The system will list each update being checked and installed.
-
You’ll see progress details, such as downloading, installing, and the status of each update.
This can be quite handy when you want to track the updates and ensure everything is running smoothly.
Let me know if you need further help or want to dive deeper into the details!
Imported from rifaterdemsahin.com · 2025