🎥 How to Transcribe Videos in OBS (Without Using DaVinci Resolve) 🚀
Old way
Are you looking for a way to transcribe your videos directly in OBS Studio without relying on DaVinci Resolve? You're in the right place! In this blog post, I’ll walk you through a simple and effective method to transcribe your videos right after recording. Let’s dive in! 🌊
🎯 What I Want to Achieve
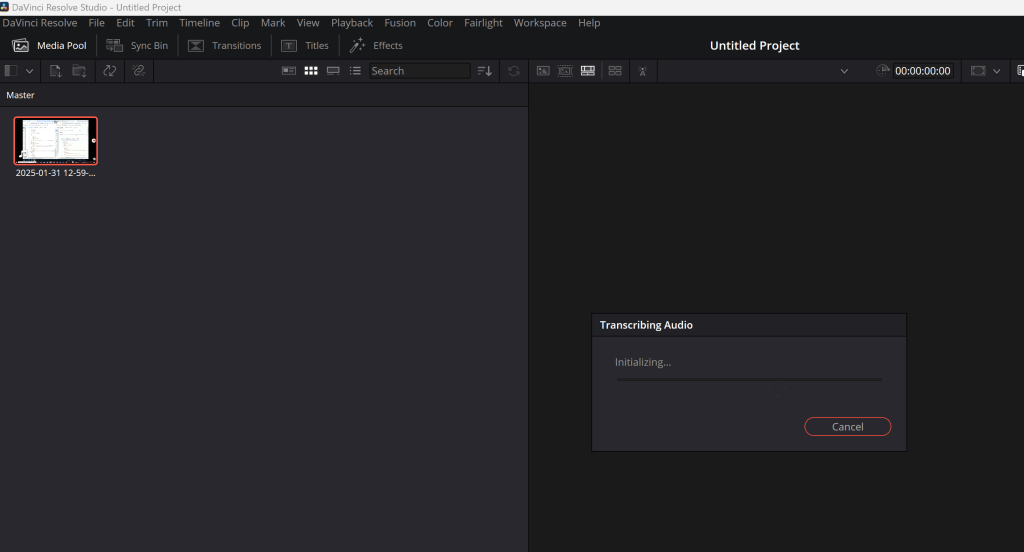
Many creators record their content using OBS Studio but rely on external tools like DaVinci Resolve for transcription. While Resolve is a powerful tool, it can be overkill if you’re just looking to transcribe your videos. Here’s how you can achieve this directly in OBS or with minimal external tools. 🛠️
🛠️ Tools You’ll Need
-
OBS Studio (of course!) 🎬
-
A speech-to-text tool (I’ll recommend some free and paid options) 🗣️
-
A text editor (like Notepad, Google Docs, or any other) 📝
🚀 Step-by-Step Guide
Step 1: Record Your Video in OBS
Start by recording your video as usual in OBS Studio. Make sure your audio is clear and free from background noise for the best transcription results. 🎙️

Screenshot of OBS recording interface.
Step 2: Export Your Audio
Once your recording is complete, you’ll need to extract the audio from your video. Here’s how:
-
Open your recording in a video editor (even a simple one like VLC Media Player will work).
-
Export the audio as an MP3 or WAV file.

Screenshot of exporting audio from a video.
Step 3: Use a Speech-to-Text Tool
Now that you have your audio file, it’s time to transcribe it. Here are some tools you can use:
Upload your audio file to the tool of your choice and let it work its magic. 🪄

Screenshot of a speech-to-text tool in action.
Step 4: Edit and Save Your Transcription
Once the tool generates the transcription, copy the text into your preferred text editor. Make any necessary edits to correct errors or improve readability. ✍️

Screenshot of editing a transcription in a text editor.
Step 5: Add Subtitles to Your Video (Optional)
If you want to add subtitles to your video, you can use a tool like Aegisub or even YouTube’s built-in subtitle editor. This step is optional but highly recommended for better accessibility. 🌍

Screenshot of adding subtitles in Aegisub.
💡 Pro Tips
-
Improve Audio Quality: Use a good microphone and reduce background noise for clearer audio, which leads to better transcription results. 🎤
-
Use Keyboard Shortcuts: Save time by using shortcuts in your text editor for faster editing. ⌨️
-
Automate Where Possible: Some tools allow you to automate the transcription process, saving you time in the long run. 🤖
🔗 Connect with Me
If you found this guide helpful, let’s stay connected! 🌐
-
💼 LinkedIn: Rifat Erdem Sahin
-
🐦 Twitter: @rifaterdemsahin
-
🎥 YouTube: Rifat Erdem Sahin
-
💻 GitHub: rifaterdemsahin
Transcribing your videos doesn’t have to be complicated or require expensive software. With the right tools and a little practice, you can streamline your workflow and focus on creating amazing content. Happy recording! 🎉
Imported from rifaterdemsahin.com · 2025