Create an push the read me Using WSL using Git Command line
Setting Up and Pushing a README File Using WSL and Git Command Line
Welcome to our guide on creating and pushing a README file using Windows Subsystem for Linux (WSL) and Git command line. This tutorial will walk you through the steps to initialize a Git repository, create a README file, commit your changes, and push it to a remote repository like GitHub.
Step 1: Install WSL and Git
Before starting, ensure you have WSL and Git installed on your system.
-
Install WSL:
-
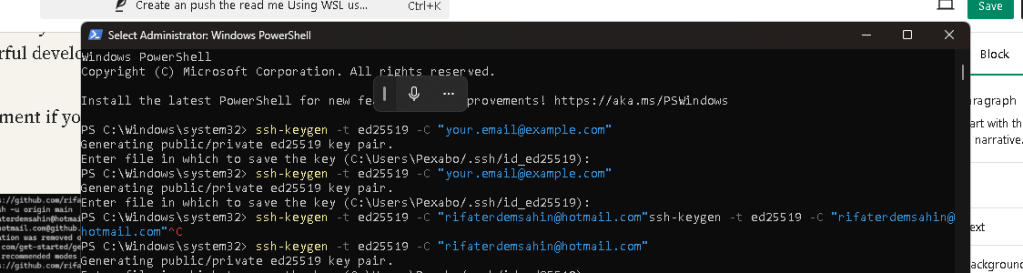
Open PowerShell as an administrator.
-
Run the command:
powershell wsl --install -
Restart your computer if prompted.
-
Install Git:
-
In your WSL terminal, update the package list:
bash sudo apt update -
Install Git:
bash sudo apt install git
Step 2: Configure Git
Set up your Git configuration with your name and email, which will be associated with your commits.
git config --global user.name "Your Name"
git config --global user.email "[email protected]"
Step 3: Initialize a Git Repository
Navigate to the directory where you want to initialize your Git repository or create a new directory.
mkdir my-project
cd my-project
git init
Step 4: Create a README File
Create a README file using a text editor. You can use nano, vim, or any editor you prefer.
nano README.md
Add some content to your README file, for example:
My Project
This is my awesome project.
Save and exit the editor (in nano, you can do this by pressing Ctrl+X, then Y to confirm, and Enter to save).
Step 5: Add and Commit the README File
Add the README file to the staging area and commit it to your local repository.
git add README.md
git commit -m "Add initial README file"
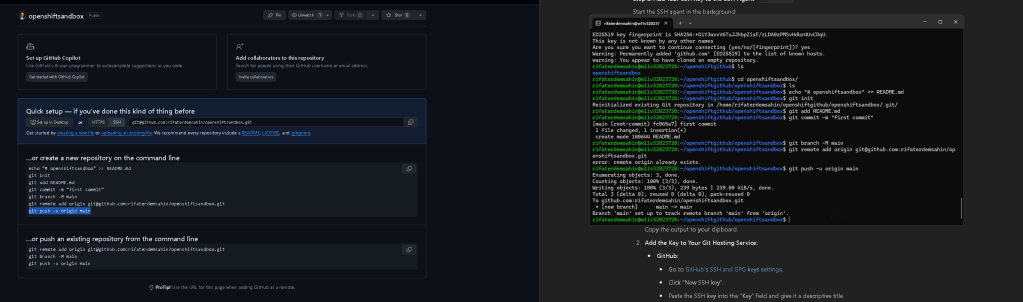
Step 6: Push to a Remote Repository
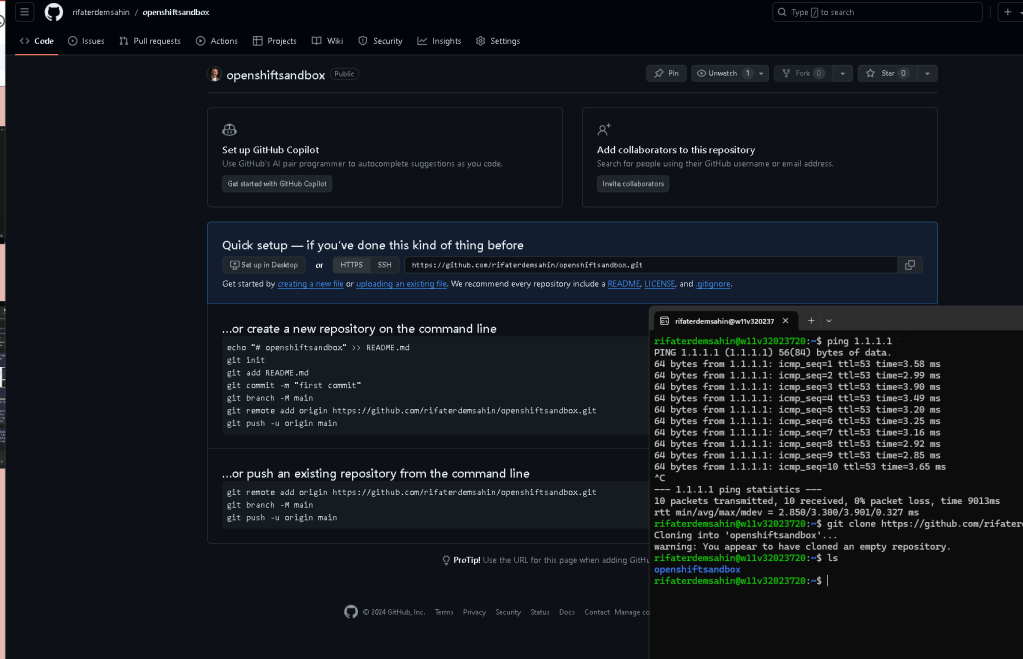
Create a repository on GitHub (or any other Git hosting service) if you haven't already. Then, link your local repository to the remote one and push your changes.
-
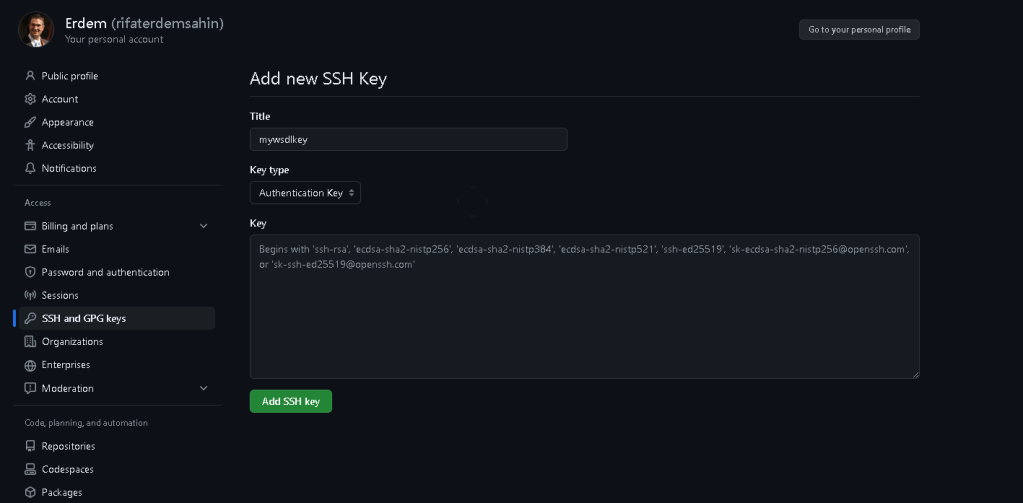
Go to GitHub and create a new repository.
-
Copy the repository URL.
In your WSL terminal, run:
git remote add origin https://github.com/yourusername/your-repo.git
git branch -M main
git push -u origin main
Replace https://github.com/yourusername/your-repo.git with the URL of your repository.
Conclusion
You've successfully created a README file and pushed it to a remote Git repository using WSL and the Git command line. This setup allows for a seamless workflow between your Windows environment and Linux tools, providing a powerful development experience.
Feel free to leave a comment if you have any questions or run into any issues. Happy coding!

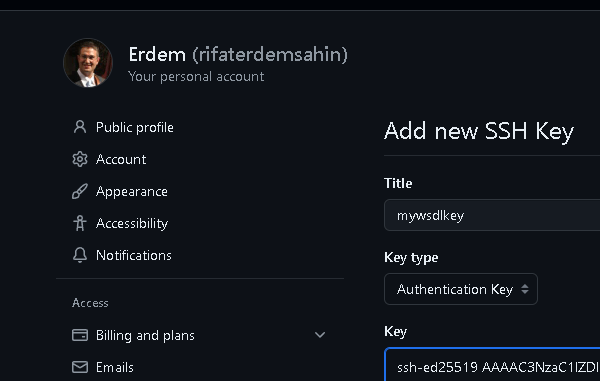
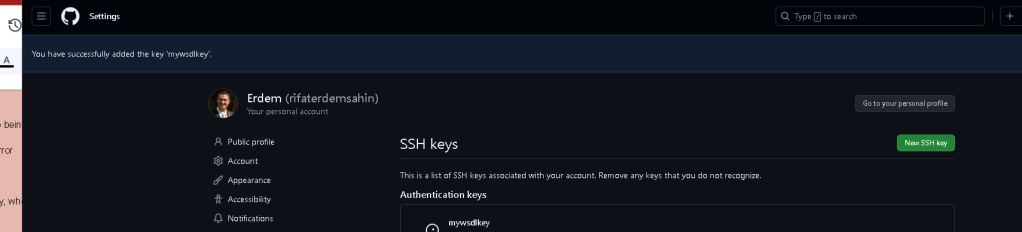
cat ~/.ssh/id_ed25519.pub | Set-Clipboard >>> on the screen check the output!
dont start with http and than move to ssh
SSH create it on that box and but it to github the publich key than do the readme
Imported from rifaterdemsahin.com · 2024