🎙️ Ultimate Guide to Setting Up Teams with Cable, VoiceMeeter, and OBS – Using One XLR Mic Setup! 🚀
ake sure to check if they work
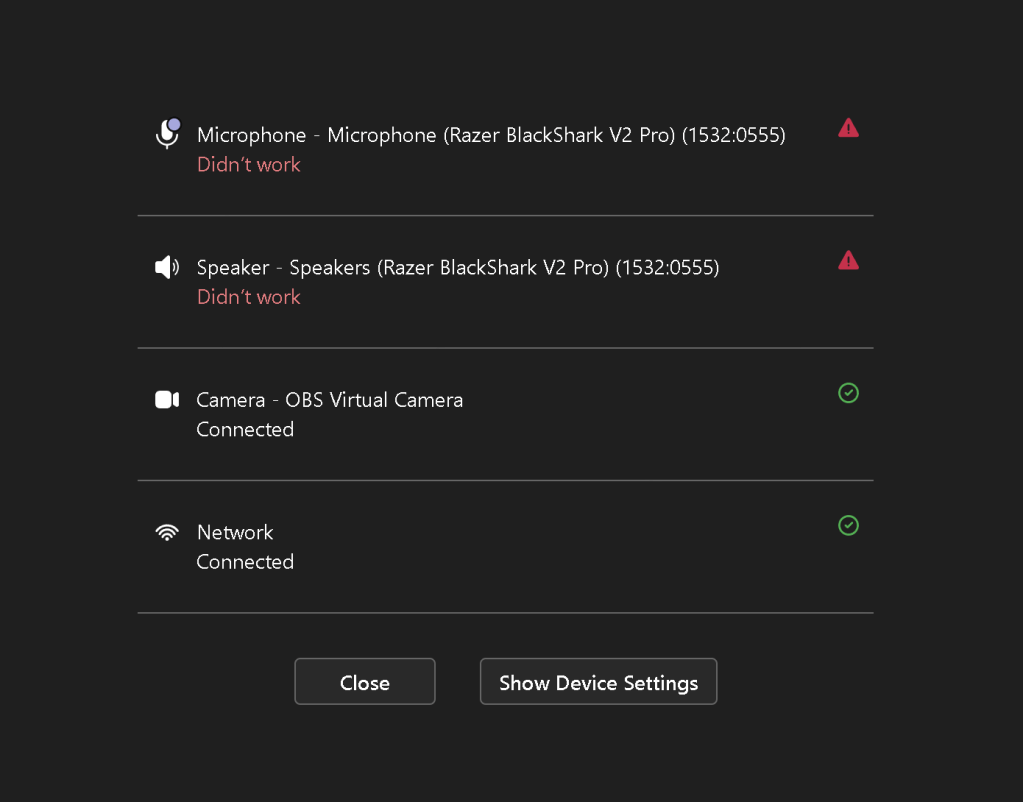
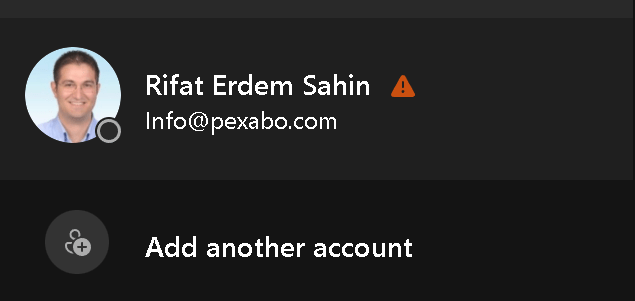
Check multi account structure
make sure custom devices are connected
cable A setup on the teams
setup
set up multi audio yours and theirs
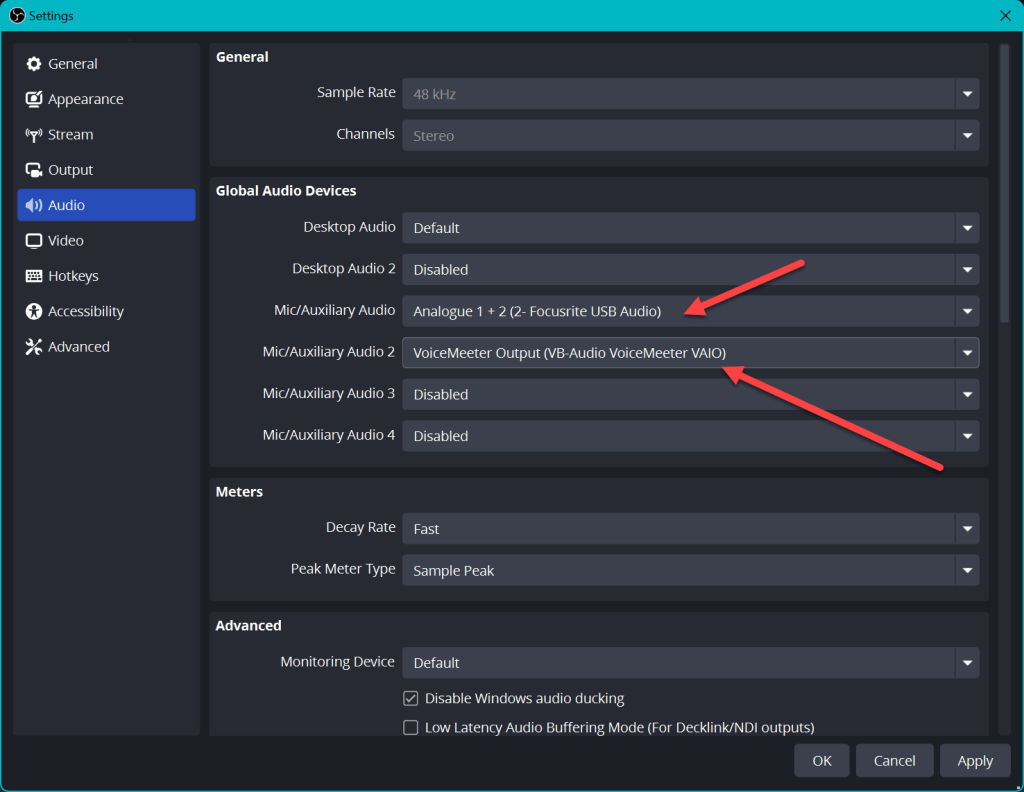
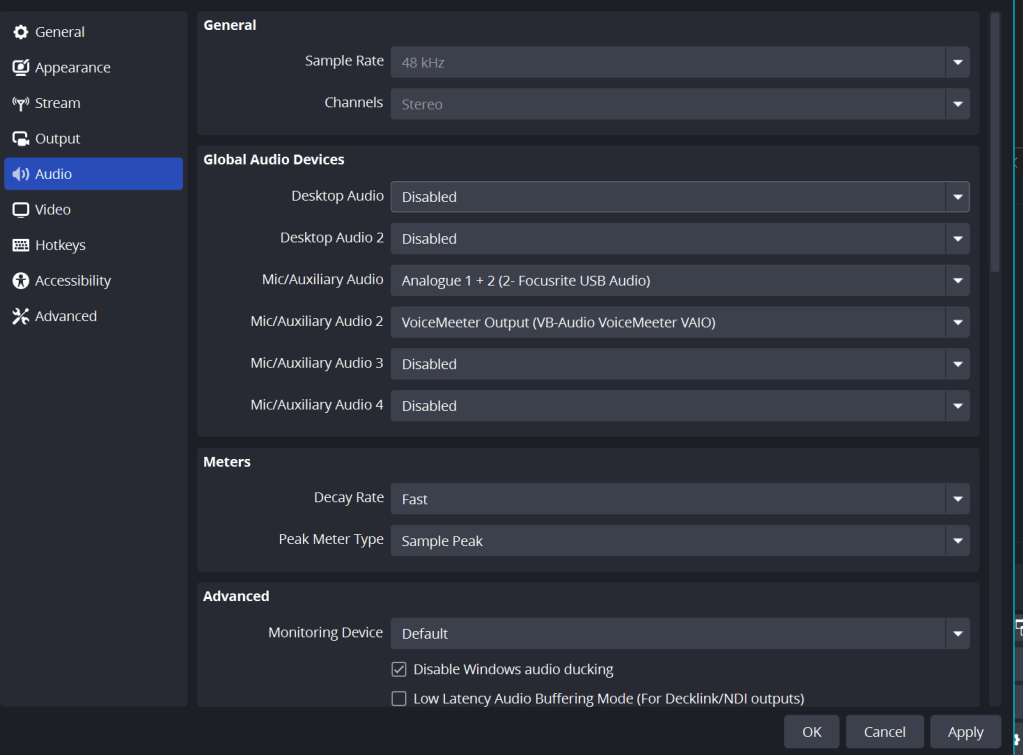
Desktop audio disabled
🎙️ Ultimate Guide to Setting Up Teams with Cable, VoiceMeeter, and OBS – Using One XLR Mic Setup! 🚀
Are you ready to elevate your online meetings, streaming sessions, or recording quality using Teams, Cable, VoiceMeeter, and OBS with a single XLR mic? This setup allows you to control audio levels and add a professional background seamlessly. Let’s dive into each step!
📌 What You’ll Need:
-
XLR Microphone 🎙️
-
Audio Interface 🎚️ (e.g., Focusrite Scarlett 2i2)
-
VoiceMeeter 🎛️ (for managing audio channels)
-
Virtual Cable (VB Cable) 🔌 (to route audio between apps)
-
OBS Studio 🎥 (for capturing video and audio)
Step 1: Install VoiceMeeter and VB Cable 📥
-
Download VoiceMeeter and VB Cable from the official site.
-
Install both, then restart your computer to ensure the software runs smoothly.
Step 2: Set Up Your Audio Interface and XLR Mic 🎙️
-
Connect your XLR mic to the audio interface.
-
In your system’s sound settings, set the audio interface as your default microphone input.
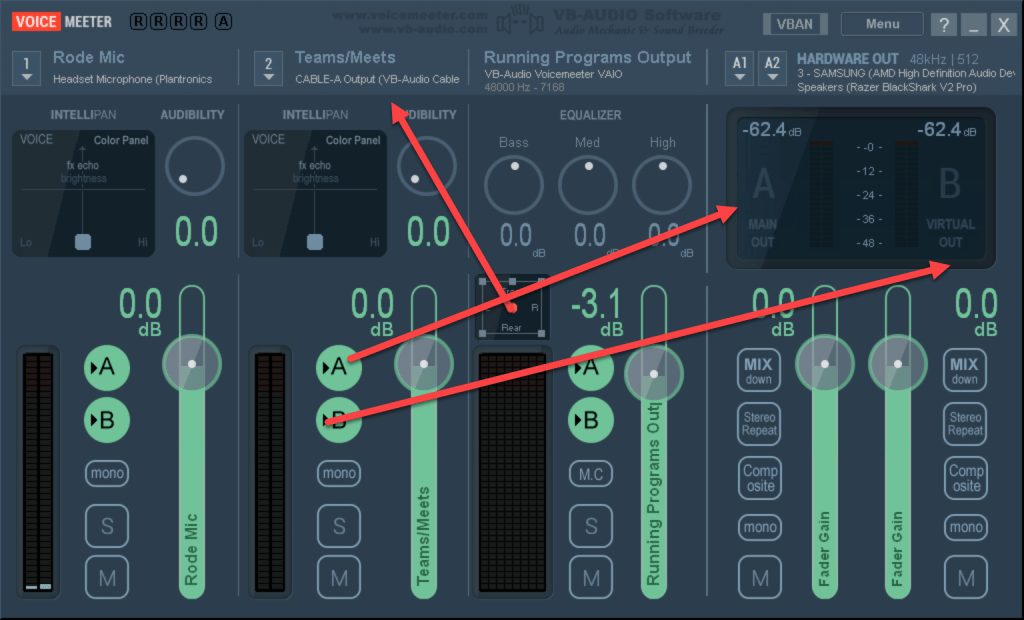
Step 3: Configure VoiceMeeter 🛠️
-
Open VoiceMeeter and set up your audio channels:
-
Hardware Input 1: Select your audio interface.
-
Virtual Input: This will serve as a digital input channel for audio from Teams and other applications.
-
Under Hardware Out (A1), choose your main playback device (e.g., your headphones or speakers).
💡 Tip: Test your microphone in VoiceMeeter to check levels and adjust any gain or EQ settings.
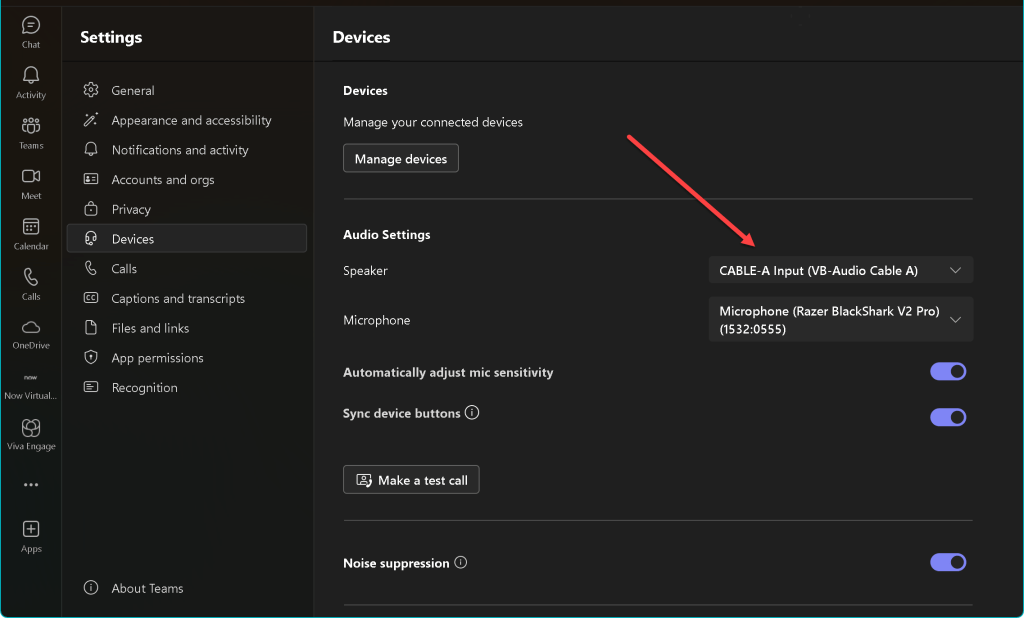
Step 4: Connect Virtual Cable 🔗
-
Open VB Cable and set it as a bridge between VoiceMeeter and Teams:
-
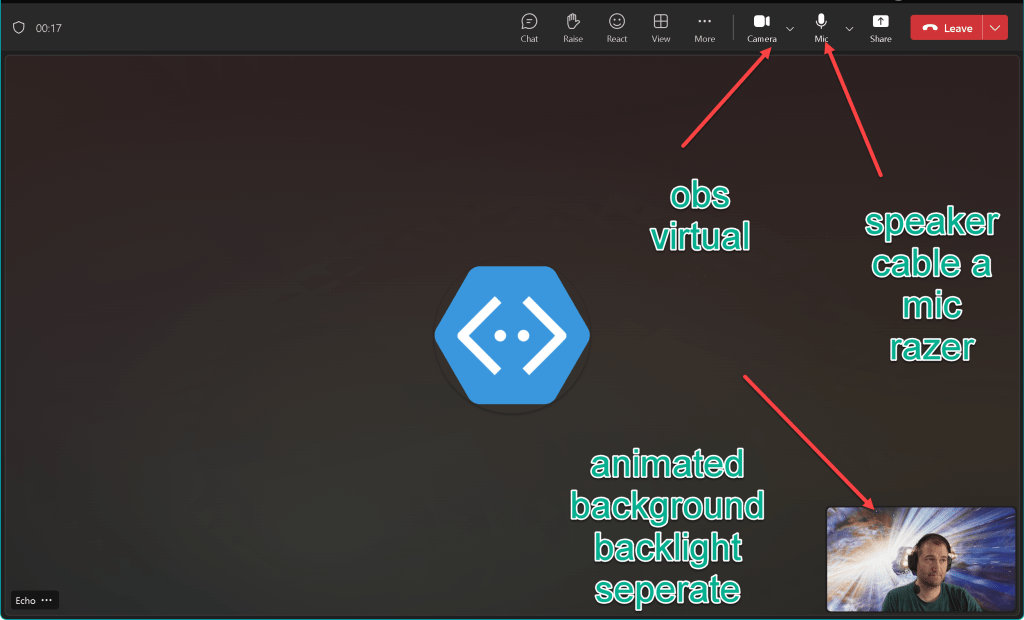
In Teams, go to Settings > Devices and select Cable Output as the Microphone.
-
This setup will route audio through VoiceMeeter, allowing you to control volume and add effects.
Step 5: Set Up OBS Studio with Teams 🎥
-
Open OBS Studio and set your scene with a video background or virtual green screen for a professional look.
-
Add Audio Input Capture in OBS and select VoiceMeeter Output as the microphone source.
-
Adjust the video background as desired to match your Teams call aesthetic.
💡 Pro Tip: Add filters in OBS for noise reduction and compression to further enhance audio quality.
Step 6: Fine-Tune Settings and Test 📊
-
Launch Teams and start a test call. Adjust VoiceMeeter audio levels to ensure your voice is clear and balanced.
-
Check OBS settings to make sure your video is smooth, and background effects are active.
Step 7: Going Live and Managing Audio on the Fly 🎛️
With everything connected:
-
Use VoiceMeeter to control mic levels during calls or streams.
-
Tweak OBS if you want to change the background mid-call.
🎉 And that’s it! Your setup is ready to give you pro-level audio and video for every Teams call, stream, or recording session.
🔗 Connect with me:
Happy streaming and calling!
Imported from rifaterdemsahin.com · 2024