How to Use Bitnami for VMware Workstation: A Step-by-Step Guide
As a developer or IT professional, using pre-configured environments can significantly reduce the time spent setting up applications. Bitnami provides ready-to-deploy packages for web apps and development stacks, and it integrates seamlessly with VMware Workstation for a streamlined experience.
In this post, we’ll walk you through how to use Bitnami with VMware Workstation, allowing you to quickly launch application stacks on your local machine. Whether you're working on development, testing, or just experimenting, this guide will help you get started.
What Is Bitnami?
Bitnami offers open-source application packages that are easy to deploy on multiple platforms like cloud providers, containers, and virtual machines. These packages come bundled with all the necessary dependencies, allowing you to skip the hassle of manual setup. The VMware images are available in OVA (Open Virtualization Appliance) format, which makes them easy to import into VMware Workstation.
Why Use Bitnami with VMware Workstation?
-
Simplified Setup: No need to install complex development environments manually.
-
Consistency: Bitnami images ensure the same setup across development, testing, and production.
-
Cross-Platform Compatibility: VMware Workstation supports multiple operating systems.
-
Testing and Experimentation: Easily spin up environments for quick tests without affecting your local machine’s setup.
Step-by-Step Guide
Step 1: Download VMware Workstation
If you don’t already have VMware Workstation installed, you can download it from the VMware website. VMware Workstation provides a virtual machine environment where you can run different operating systems and applications.
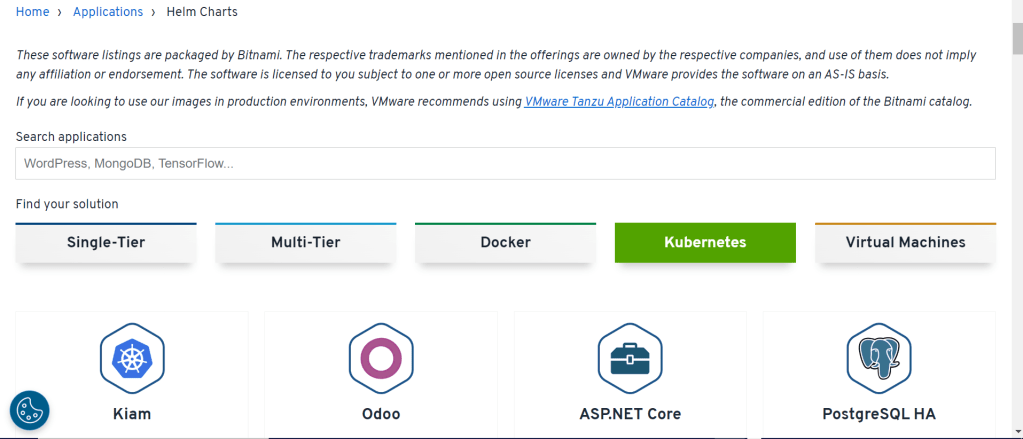
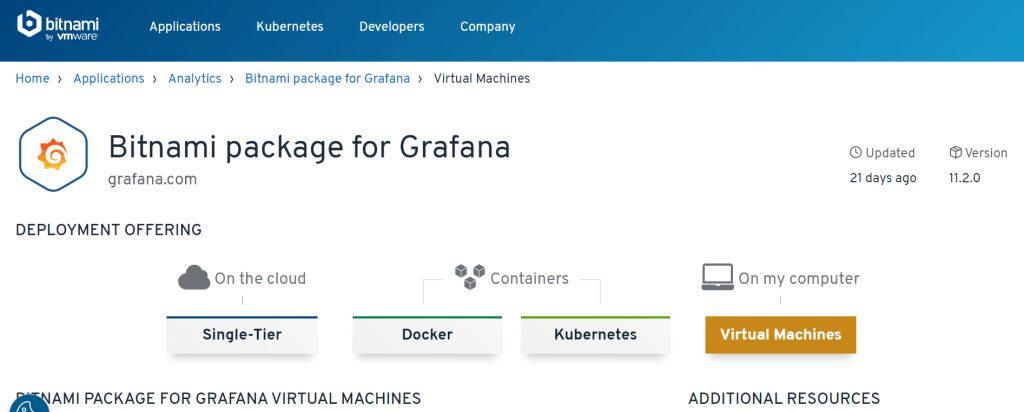
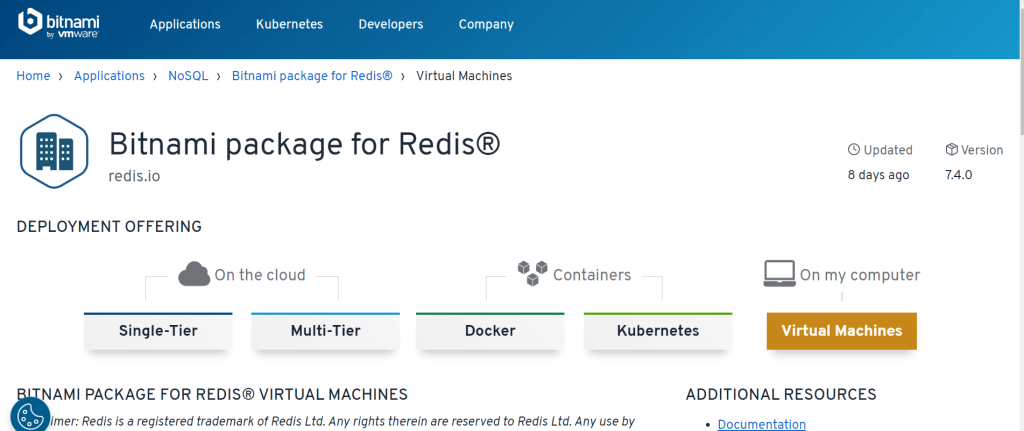
Step 2: Download the Bitnami Application Stack
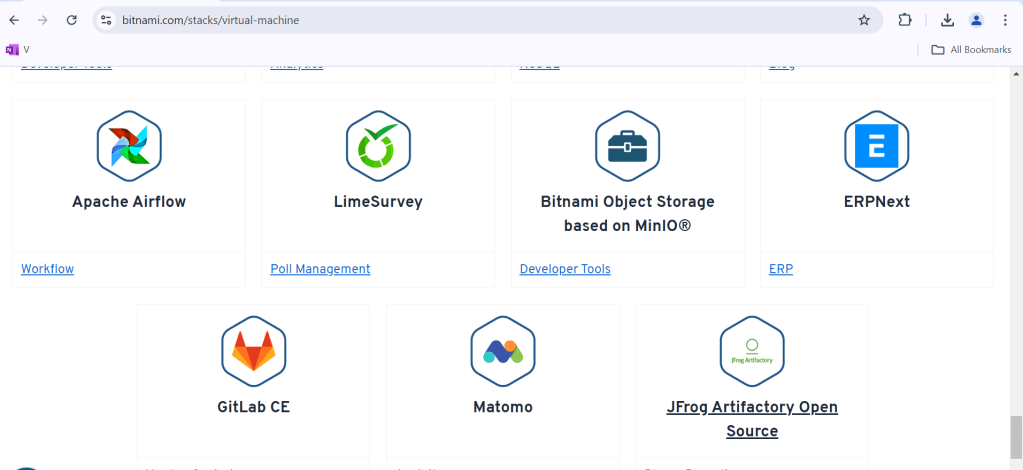
Visit the Bitnami website to select the application stack you want to use. Bitnami offers pre-packaged environments for a variety of applications such as WordPress, Drupal, and LAMP stacks.
-
Navigate to the application or stack you're interested in.
-
Click on the VMware icon to download the
.ovafile.
Step 3: Import the Bitnami OVA File into VMware Workstation
Once the OVA file is downloaded, follow these steps to import it into VMware Workstation:
-
Open VMware Workstation.
-
Click on File > Open and browse for the downloaded OVA file.
-
VMware Workstation will prompt you with options to configure the virtual machine settings. You can either leave the default settings or modify them based on your requirements (e.g., CPU, RAM allocation).
-
Click Import. This will create a virtual machine based on the OVA file.
Step 4: Start the Virtual Machine
After importing the Bitnami OVA file:
-
Select the virtual machine from the left panel in VMware Workstation.
-
Click the Play button to start the VM.
-
Bitnami will automatically start the application stack inside the VM.
Step 5: Access the Application
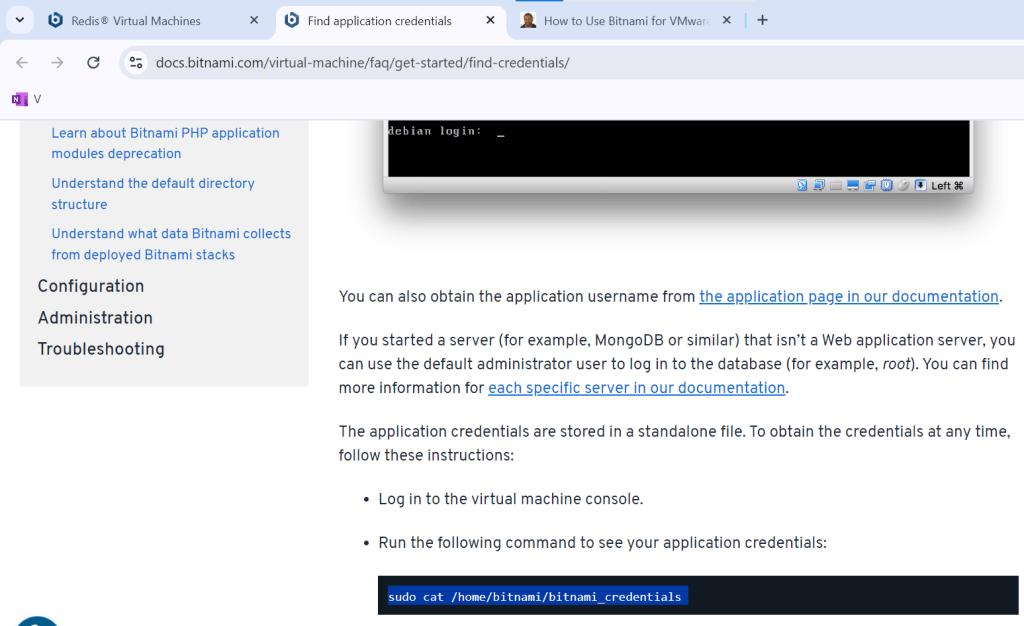
Once the virtual machine has started, you can access the application through your web browser. By default, Bitnami provides instructions on how to access the stack via a local IP address (usually http://192.168.x.x). You can find this information by:
-
Checking the startup log on the virtual machine's console.
-
Following Bitnami’s login instructions provided on the terminal for default credentials.
Step 6: Configure and Customize
With your application stack up and running, you can now:
-
Log in to the application’s dashboard (e.g., WordPress admin panel).
-
Configure the stack based on your development or production requirements.
-
Customize the environment by installing themes, plugins, or additional software.
Tips for Working with Bitnami on VMware
-
Snapshots: Before making major changes to the application or its environment, create a snapshot. This allows you to revert back in case something goes wrong.
-
Networking: Ensure the virtual machine’s networking is configured correctly (NAT, bridged, or host-only) based on how you want to access the application.
-
Backups: Regularly back up the virtual machine or export the VM to avoid losing data.
Conclusion
Using Bitnami with VMware Workstation provides an excellent solution for setting up a consistent and fast development environment without worrying about software installation and configuration. Whether you're developing web applications, testing stacks, or simply experimenting, Bitnami’s ready-to-use virtual machines make the process much smoother.
By following the steps outlined in this guide, you’ll be up and running with your chosen application stack in no time. Happy developing!
Feel free to modify the content based on your experiences or additional insights!
Imported from rifaterdemsahin.com · 2024