Host Your Own VDO.Ninja
Hosting your own VDO.Ninja server on an OpenShift cluster involves several steps, from setting up the environment to configuring ingress and certificates. VDO.Ninja is a powerful tool for low-latency video streaming, and running it on your OpenShift cluster provides greater control and potentially better performance. Here’s a step-by-step guide to get you started:
Step 1: Prepare Your OpenShift Environment
Before you begin, ensure that your OpenShift cluster is up and running, and you have access to it via the OpenShift CLI (oc). You will also need to have administrative privileges to manage resources in your cluster.
- Log in to Your OpenShift Cluster:
Use the OpenShift CLI to log in to your cluster.
oc login --server=https://your-openshift-api-server:6443 --token=YOUR_OPENSHIFT_TOKEN
- Create a New Project:
Create a new project where you will deploy your VDO.Ninja server.
oc new-project vdoninja
Step 2: Deploy VDO.Ninja Server on OpenShift
VDO.Ninja requires a web server to host its JavaScript files and an optional signaling server (like WebSocket) for peer-to-peer communication. You can use a simple NGINX server to host the files.
- Deploy NGINX:
Create a deployment configuration for NGINX using OpenShift.
oc new-app --name=vdoninja-nginx nginx:latest
- Configure Persistent Volume (Optional):
If you want to store your VDO.Ninja files persistently, create a persistent volume (PV) and a persistent volume claim (PVC).
oc create -f - <<EOF
kind: PersistentVolumeClaim
apiVersion: v1
metadata:
name: vdoninja-pvc
spec:
accessModes:
- ReadWriteOnce
resources:
requests:
storage: 1Gi
EOF
Then, mount the PVC to your NGINX pod:
oc set volume deployment/vdoninja-nginx --add --name=vdoninja-volume --claim-name=vdoninja-pvc --mount-path=/usr/share/nginx/html
- Upload VDO.Ninja Files:
Upload the VDO.Ninja files to the NGINX server. You can use theoc rsynccommand to copy files from your local machine to the OpenShift pod.
oc rsync ./vdo.ninja_files vdoninja-nginx-
Replace <pod_name> with the actual name of the running pod.
Step 3: Set Up Ingress and Routing
To make your VDO.Ninja server accessible externally, you need to set up ingress or routes and configure TLS certificates for secure connections.
- Create an OpenShift Route:
Create a route to expose your NGINX service.
oc expose svc/vdoninja-nginx
This command will automatically create a route for your service. You can check the route by running:
oc get routes
- Secure the Route with TLS:
To enable HTTPS, you need to secure your route with TLS certificates. First, obtain your TLS certificate and key. You can use Let's Encrypt or any other certificate authority. Then, create a secret in OpenShift to store your TLS certificates:
oc create secret tls vdoninja-tls --cert=fullchain.pem --key=privkey.pem
Now, modify the route to use the TLS secret:
oc patch route vdoninja-nginx -p '{"spec":{"tls": {"termination":"edge","insecureEdgeTerminationPolicy": "Redirect","key": "", "certificate": "", "caCertificate": ""}}}'
This command configures your route to use edge termination for TLS, meaning that the encryption is handled at the router level.
Step 4: Configure Certificates and Ingress
-
Set Up Automatic TLS with Let's Encrypt (Optional):
If you prefer automatic certificate management, you can use the Cert-Manager operator to obtain and manage Let's Encrypt certificates. -
Install Cert-Manager:
oc apply -f https://github.com/jetstack/cert-manager/releases/download/v1.7.1/cert-manager.yaml -
Create an Issuer or ClusterIssuer:
cat <<EOF | oc apply -f - apiVersion: cert-manager.io/v1 kind: ClusterIssuer metadata: name: letsencrypt-prod spec: acme: server: https://acme-v02.api.letsencrypt.org/directory email: [email protected] privateKeySecretRef: name: letsencrypt-prod solvers: - http01: ingress: class: openshift EOF -
Request a Certificate:
cat <<EOF | oc apply -f - apiVersion: cert-manager.io/v1 kind: Certificate metadata: name: vdoninja-cert namespace: vdoninja spec: secretName: vdoninja-tls issuerRef: name: letsencrypt-prod kind: ClusterIssuer commonName: your.domain.com dnsNames: - your.domain.com EOF -
Verify Certificate Deployment:
Ensure that the certificate is issued and correctly applied by checking the certificate status:
oc describe certificate vdoninja-cert
Step 5: Testing and Validation
- Access Your VDO.Ninja Server:
Open your browser and navigate to the route URL created in Step 3.
https://your-vdoninja-route-url
- Verify HTTPS Connection:
Ensure that the connection is secure (HTTPS) and the certificate is correctly applied.
Step 6: Monitor and Maintain Your Server
Regularly monitor your OpenShift project and VDO.Ninja deployment to ensure it is running smoothly. Update the VDO.Ninja files as needed and renew your certificates before they expire.
Conclusion
By following these steps, you can successfully host your own VDO.Ninja server on an OpenShift cluster with proper ingress and TLS certificate setups. This setup gives you more control over your streaming environment and ensures that your data remains secure. Regular maintenance and monitoring will ensure your VDO.Ninja server continues to operate efficiently and securely.
Feel free to modify the steps according to your specific requirements and infrastructure.
Reference
https://github.com/steveseguin/docker-vdon
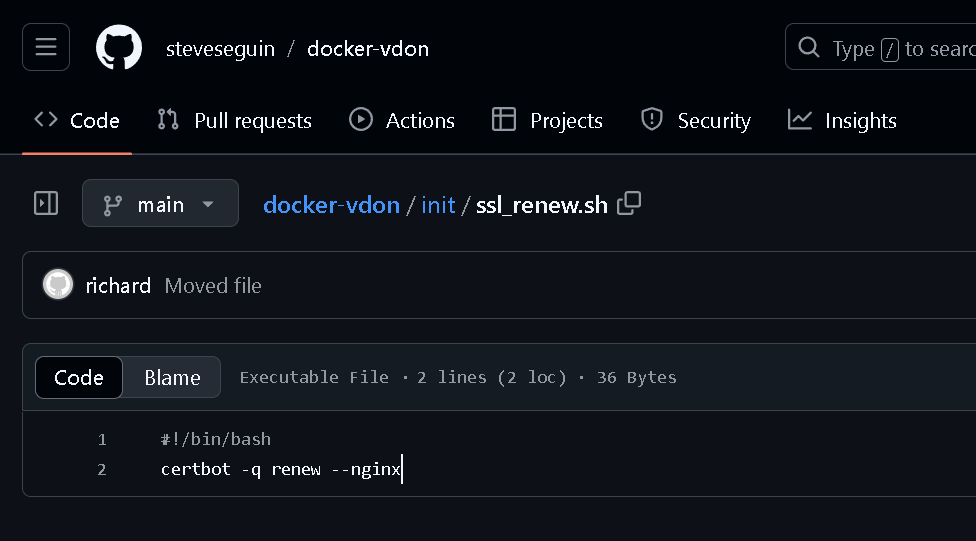
Auto Renew Process
Imported from rifaterdemsahin.com · 2024