How I Keep My Dell XPS 13 Updated
This laptop is in my kids room and connected to Razer Core for computer games
Keeping your Dell XPS 13 laptop up-to-date ensures that it runs smoothly, securely, and efficiently. Here’s a step-by-step guide on how I update my XPS 13, covering everything from BIOS updates to driver installations.
My Dell XPS 13 Specifications
-
Model: Dell XPS 13 9310 2-in-1
-
Processor: 11th Gen Intel® Core™ i7-1165G7 @ 2.80GHz
-
Graphics:
-
Intel® Iris® Xe Graphics
-
AMD Radeon VII
-
Memory: 32 GB
-
Storage: NVMe KBG40ZPZ1T02 NVMe KIOXIA 1024GB
-
Operating System: Microsoft Windows 11 Home (64-bit), Version 23H2 (10.0.22631)
-
Audio:
-
USB Audio Device
-
AMD Streaming Audio Device
-
Intel® Smart Sound Technology for USB Audio
-
Intel® Smart Sound Technology for Bluetooth® Audio
-
Realtek Audio
-
AMD High Definition Audio Device
-
Networking and I/O:
-
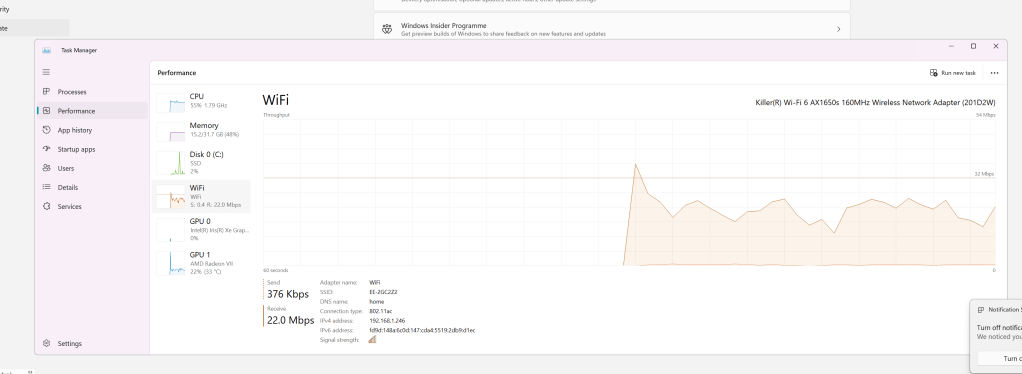
Killer® Wi-Fi 6 AX1650s 160MHz Wireless Network Adapter (201D2W)
-
Bluetooth Device (Personal Area Network)
-
Thunderbolt Controller 1
-
Thunderbolt Controller 2
-
Intel® Wireless Bluetooth®
1. Check for Windows Updates
The first step in keeping my XPS 13 updated is to ensure that Windows itself is up to date. Here’s how I do it:
-
Open Settings: Click on the Start menu and select the gear icon to open the Settings app.
-
Go to Update & Security: Select ‘Update & Security’ from the options.
-
Check for Updates: Click on ‘Check for updates’ to see if there are any new updates available. If there are, download and install them.
2. Update Dell BIOS
Updating the BIOS can help improve system stability and compatibility with new hardware. Here’s how I update the BIOS on my Dell XPS 13:
-
Visit Dell Support: Navigate to the Dell Support website.
-
Enter Service Tag: Enter your laptop’s Service Tag to get the correct updates for your model.
-
Download BIOS Update: Find the latest BIOS update under the ‘Drivers & Downloads’ section and download it.
-
Install the Update: Run the downloaded file and follow the on-screen instructions to update the BIOS. Make sure your laptop is plugged in during this process to avoid power issues.
3. Update Drivers Using Intel® Driver & Support Assistant
Intel provides a handy tool called the Intel® Driver & Support Assistant, which makes it easy to keep Intel hardware drivers up to date. Here’s how I use it:
-
Download the Assistant: Go to the Intel Driver & Support Assistant page and download the tool.
-
Install and Run: Install the software and run it. The tool will automatically scan your system for Intel hardware.
-
Review Available Updates: The assistant will show a list of available updates. For example, it might show updates for the Intel® Iris® Xe Graphics or Intel® Wireless Bluetooth® Drivers.
-
Install Updates: Select the updates you want to install and follow the on-screen instructions.
4. Update Other Drivers
Apart from Intel drivers, your XPS 13 may have other components that need updating, such as the AMD Radeon graphics card or Realtek audio drivers. Here’s how I keep these drivers up to date:
-
Visit Dell Support: Just like with the BIOS, go to the Dell Support website.
-
Check for Other Drivers: In the ‘Drivers & Downloads’ section, look for updates related to graphics, audio, networking, etc.
-
Download and Install: Download the necessary drivers and install them following the provided instructions.
5. Regular Maintenance
To ensure my XPS 13 remains in top condition, I perform regular maintenance:
-
Clean Temporary Files: Use tools like Disk Cleanup or third-party software like CCleaner to remove unnecessary files.
-
Defragment and Optimize Drives: Use the built-in Windows tool to optimize your SSD.
-
Check for Malware: Run regular scans with Windows Defender or another trusted antivirus program.
Conclusion
Keeping my Dell XPS 13 updated is a straightforward process that involves regularly checking for Windows updates, updating the BIOS, using the Intel® Driver & Support Assistant, and updating other drivers from the Dell Support website. Regular maintenance also plays a crucial role in ensuring the laptop runs smoothly. By following these steps, I ensure my XPS 13 remains secure, efficient, and ready for any task.
If you have any questions or need further assistance with updating your Dell XPS 13, feel free to leave a comment below!
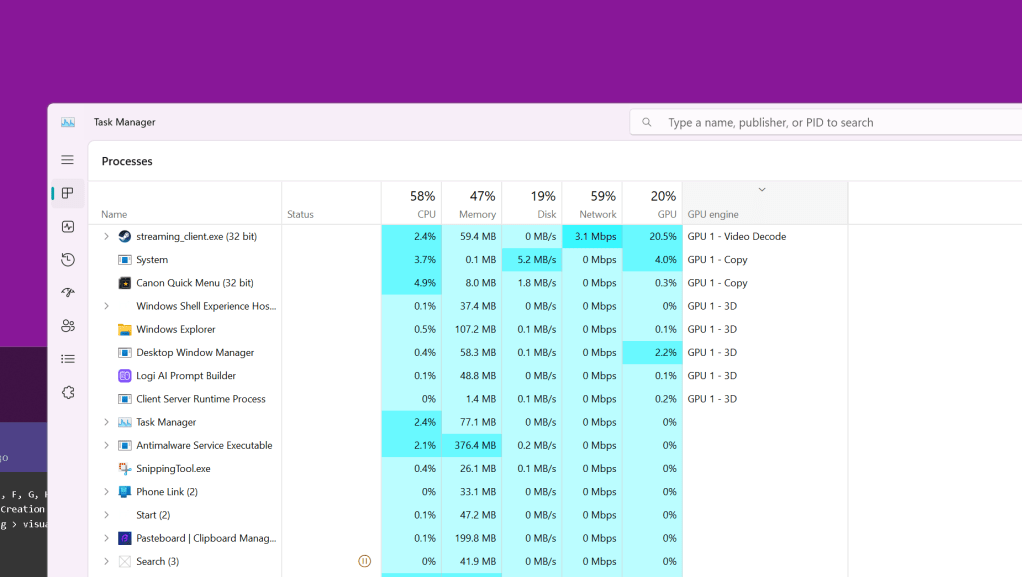
after updates check gpu
Imported from rifaterdemsahin.com · 2024