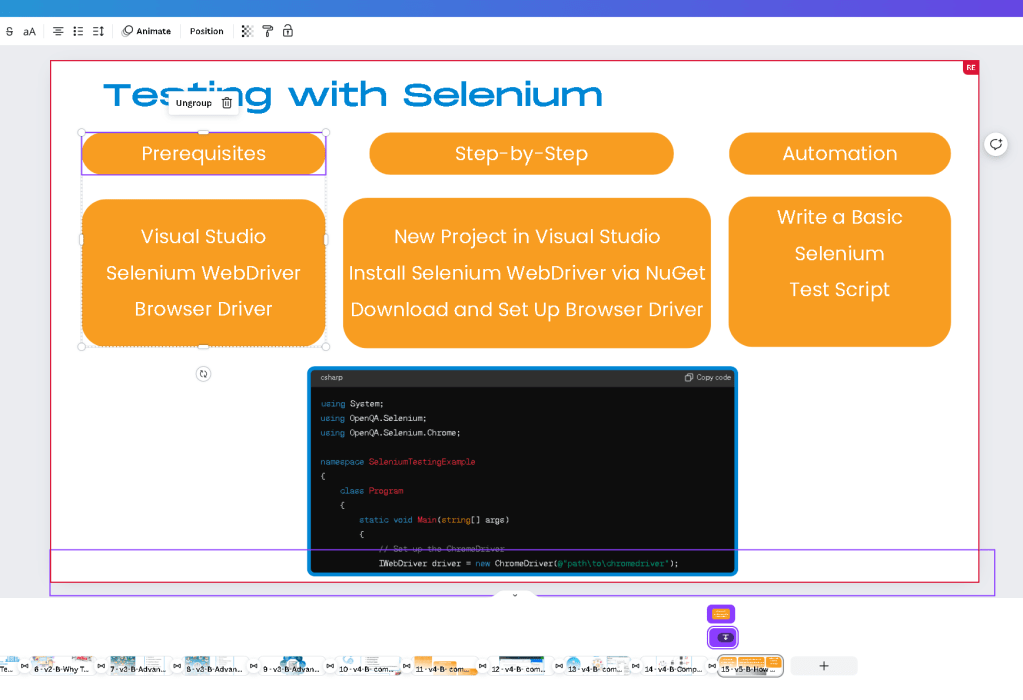
Canva, adjusting animation timing
In Canva, adjusting animation timing can enhance the overall flow and impact of your presentations or videos. Here’s a step-by-step guide on how to adjust animation timing in Canva:
first clear all animations
-
Open Your Project:
-
Open Canva and navigate to your project that contains the elements you want to animate.
-
Select the Element:
-
Click on the element (text, image, shape, etc.) you want to animate.
-
Add Animation:
-
With the element selected, click on the "Animate" button located in the toolbar above your design workspace.
-
Choose the type of animation you want to apply from the options provided (e.g., Fade, Pan, Rise, etc.).
-
Adjust Animation Timing:
-
Once you’ve applied the animation, you’ll see an option to adjust the timing. This is usually represented by a slider or numerical input.
-
Drag the slider or input the desired time in seconds to set how long the animation should take.
-
Preview the Animation:
-
After setting the timing, preview the animation to ensure it looks as expected. You can do this by clicking the "Play" button to see the animation in action.
-
Make any necessary adjustments by going back to the timing settings.
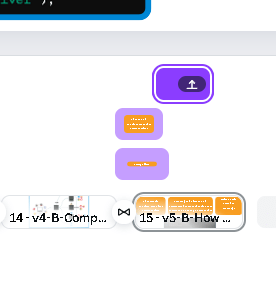
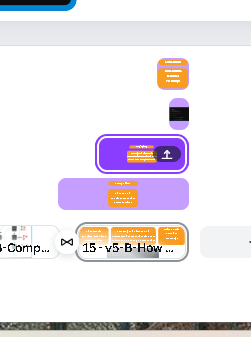
use them on the right
-
Apply to Other Elements:
-
Repeat the process for other elements in your design that you want to animate, ensuring each has the desired timing and effect.
-
Save and Export:
-
Once you’re satisfied with the animations and their timings, save your project.
-
Export your design as a video or presentation to ensure the animations play correctly in the final output.
Here’s a more detailed breakdown of where you can find the animation timing options and how to use them effectively:
Detailed Steps to Adjust Animation Timing:
-
Navigate to the Animation Settings:
-
After selecting the element and clicking on "Animate," look for the timing options. These might be under an “Effects” tab or similar, depending on Canva’s current interface updates.
-
Customize the Duration:
-
In the timing settings, you can usually set the duration of the animation. This is how long the animation effect will last when the element appears or transitions.
-
Delay Settings:
-
Some animations also allow you to set a delay, which determines how long the element waits before starting its animation after the previous action.
-
Control the Speed:
-
Adjust the speed to control how quickly the animation plays. This can often be set as a fast, medium, or slow speed option, or via a more granular control like a slider.
-
Synchronize Multiple Animations:
-
If you have multiple animated elements, ensure their timings are synchronized to create a cohesive and smooth transition between them.
-
Layer Animations:
-
You can layer animations by staggering their start times, creating a cascading effect where one animation begins just as another ends.
-
Fine-Tuning:
-
Fine-tune the animations by adjusting the duration and delay until you achieve the desired effect. This might involve some trial and error to get perfect.
Example:
Let’s say you have a text box that you want to fade in over 2 seconds, and then an image that should slide in 1 second after the text has fully appeared. Here’s how you would set it up:
-
Text Box:
-
Select the text box, click on "Animate," choose "Fade In."
-
Set the duration to 2 seconds.
-
Image:
-
Select the image, click on "Animate," choose "Slide In."
-
Set the duration to 1.5 seconds and the delay to 3 seconds (2 seconds for the text to appear + 1 second delay).
By carefully adjusting these settings, you can create professional and engaging animated designs in Canva.
end output similar to this

Imported from rifaterdemsahin.com · 2024