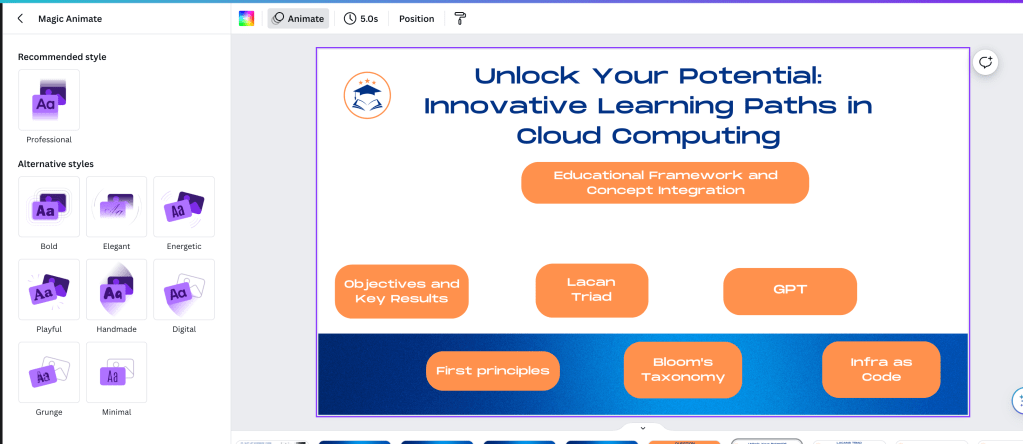
Magic animate and helper slides
animates everything so it does not work!
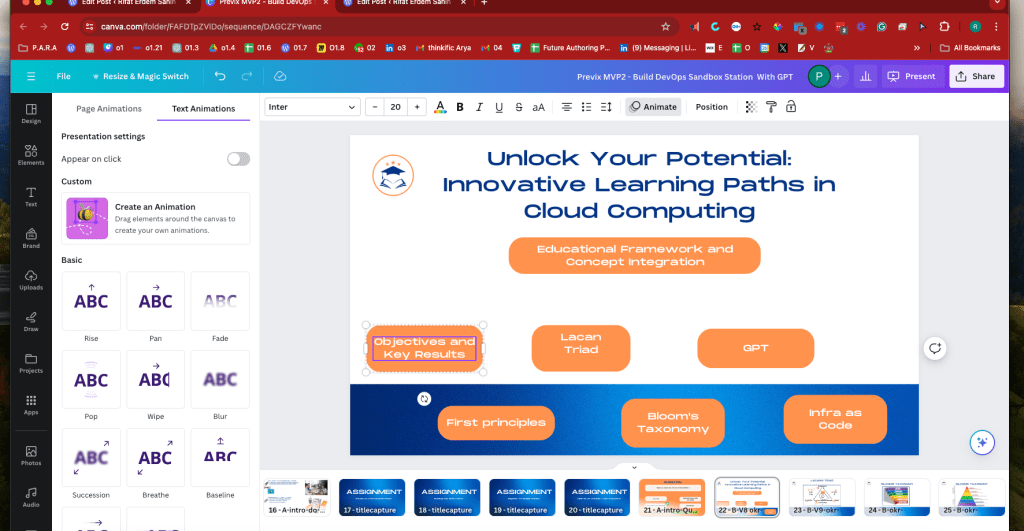
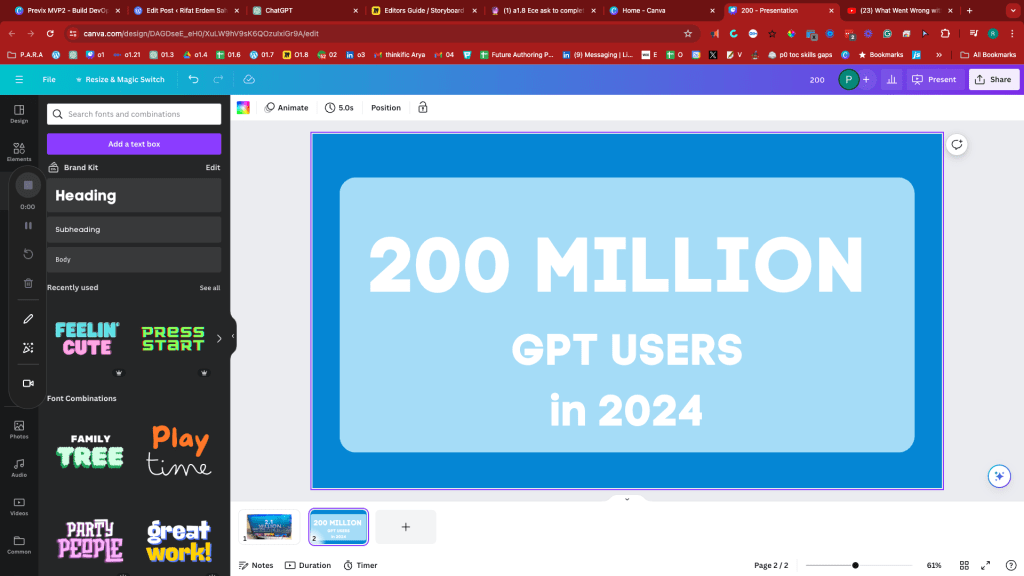
appear on click and animation are different
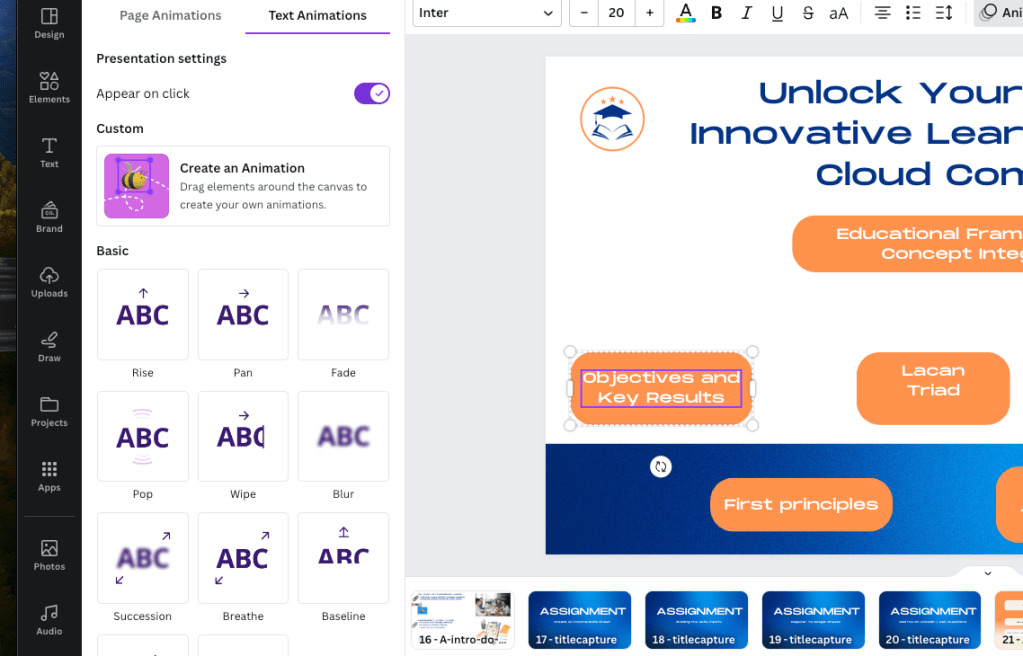
single and bulk appear on click are differemt
header on enter only
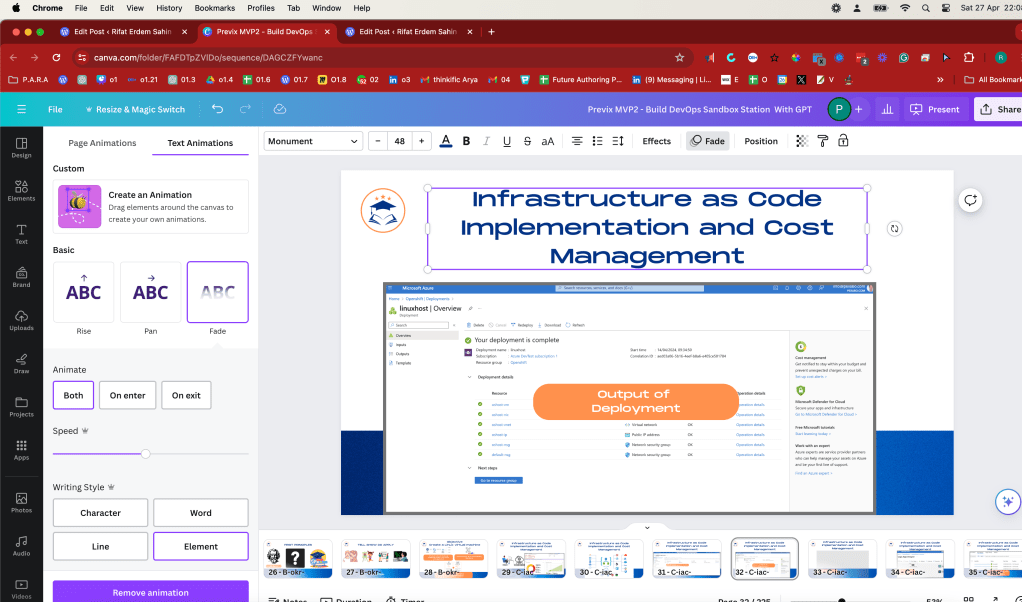
Copy paste the title moves the animation faster
animation hack

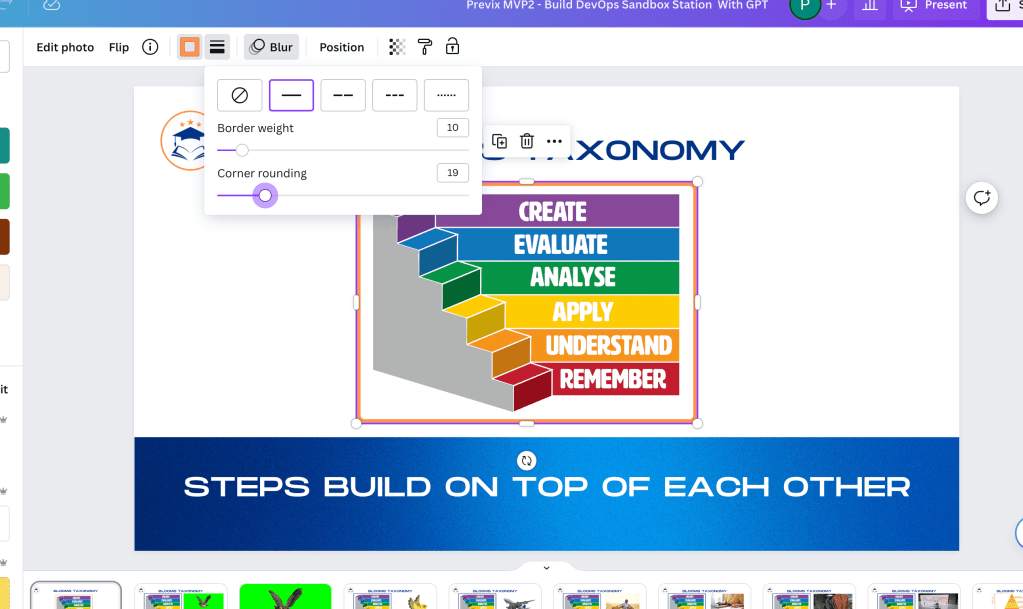
Grouping easier to fix its errors
fix colors

helper slides and objects to paste style
Added complex objects
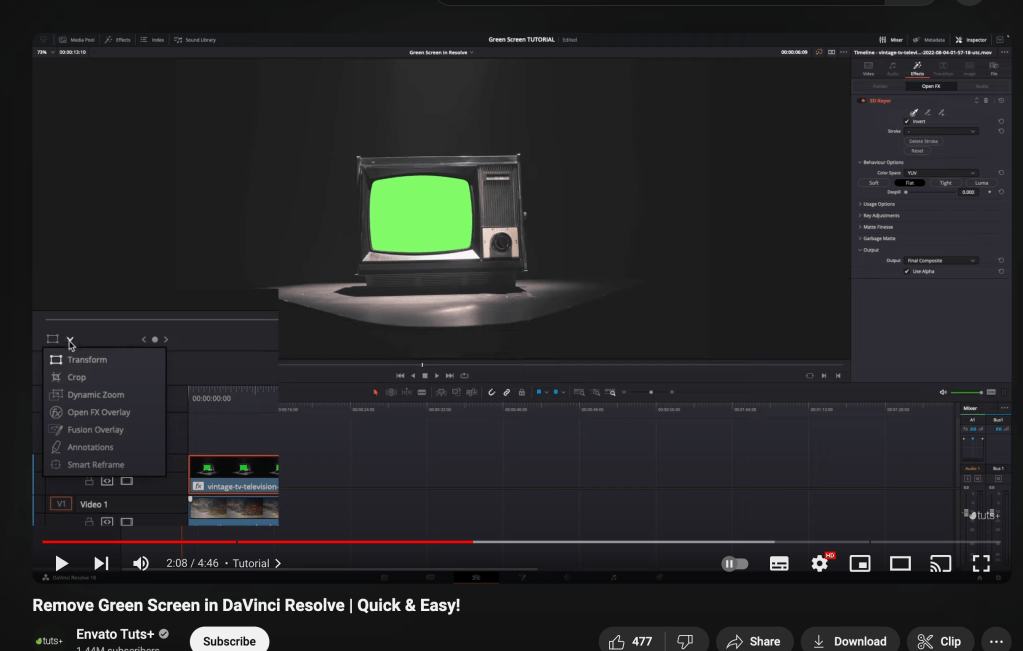
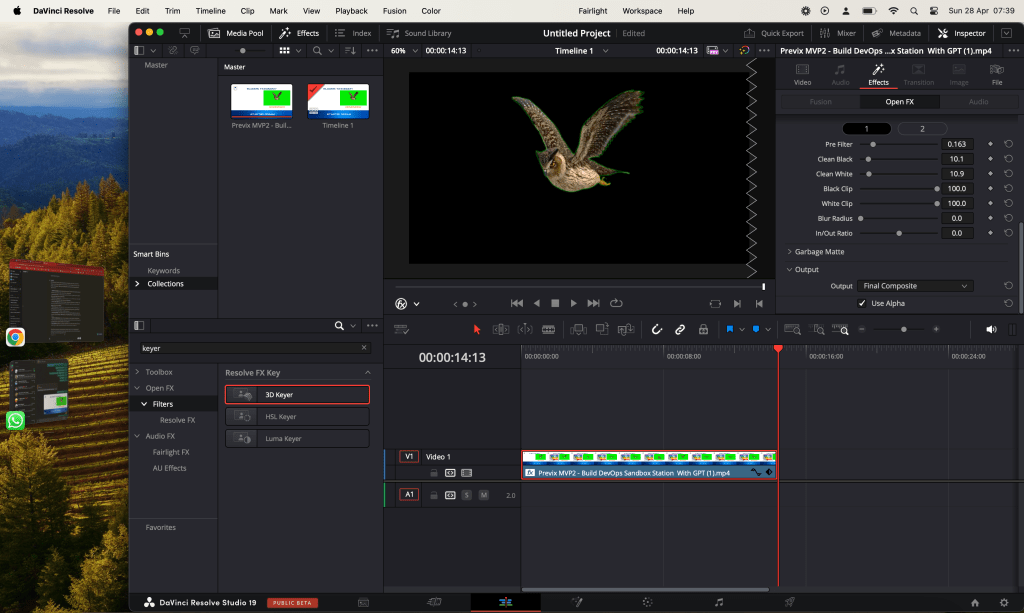
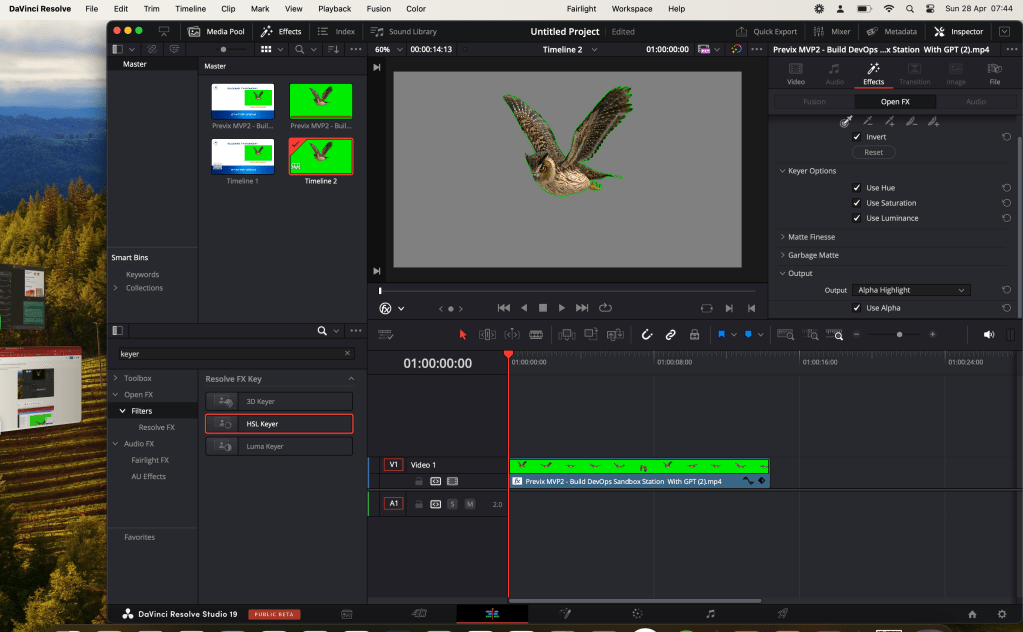
DaVinci Resolve includes a powerful feature for chroma keying, often used to composite two images or video streams together based on color hues. This is commonly referred to as "green screen" or "blue screen" effects. Here's a basic guide on how to use the chroma key feature in DaVinci Resolve:
-
Import Your Footage: Start by importing the footage that contains the green screen along with the background you want to use. You can do this in the Media tab.
-
Go to the Color Tab: The Color tab is where you'll do most of your chroma key work. Drag your clip into the timeline if it's not already there.
-
Add a Node for Keying: Right-click on the node graph area, choose “Add Node,” and then “Add Serial Node.” This new node will be used for the keying process.
-
Choose the Qualifier Tool: In the newly created node, select the Qualifier tool (the eyedropper icon). Use this tool to click on the green screen in your video. DaVinci Resolve will create a key based on the color you selected.
-
Refine the Key: After selecting the green color, adjust the key to make sure all of the green is selected properly. Use the sliders in the HSL Keying section to adjust the hue, saturation, and luminance until the green areas are completely transparent.
-
Clean Up the Matte: Use the Matte Finesse controls to clean up the edges and any spill of the green color. The "In/Out Ratio", "Blur Radius", and "Clean Black/White" are useful tools for refining the key.
-
Overlay Your Background: Once your key looks good, you need to overlay the background. Connect the output of your keyed node to the input of the node containing your background. This will composite your foreground image over the background.
-
Final Adjustments: Make any necessary adjustments to ensure the elements blend well, such as matching color, light, and shadows between the foreground and the background.
DaVinci Resolve's powerful color grading tools combined with its chroma keying capabilities make it a go-to for professional and amateur video editors alike. If you're new to chroma keying, it might take a bit of practice to get perfect results.
openfx overlay
provide with an without
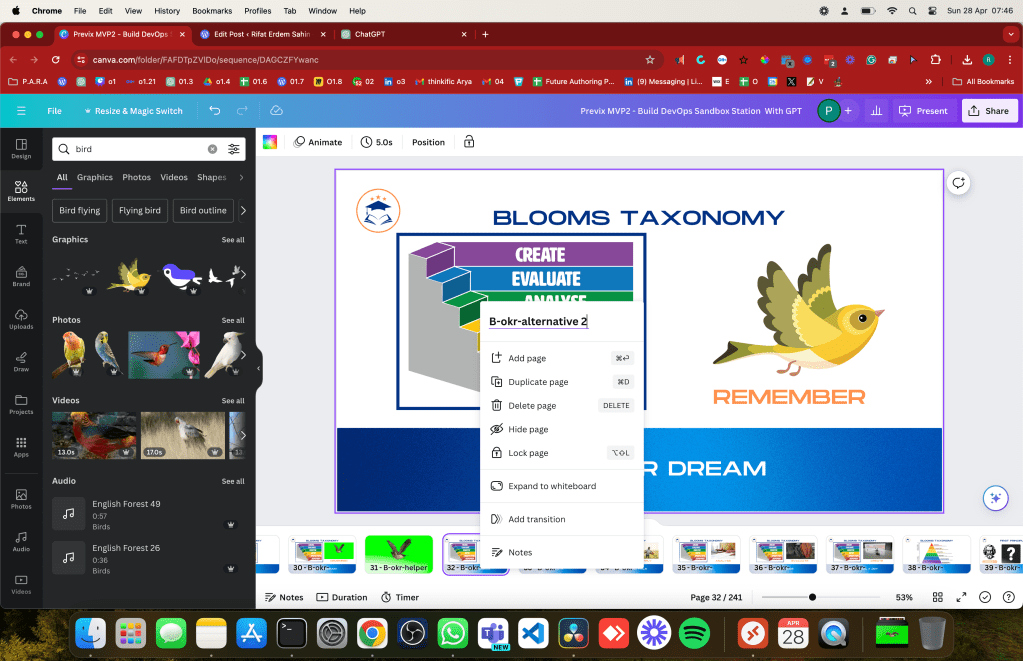
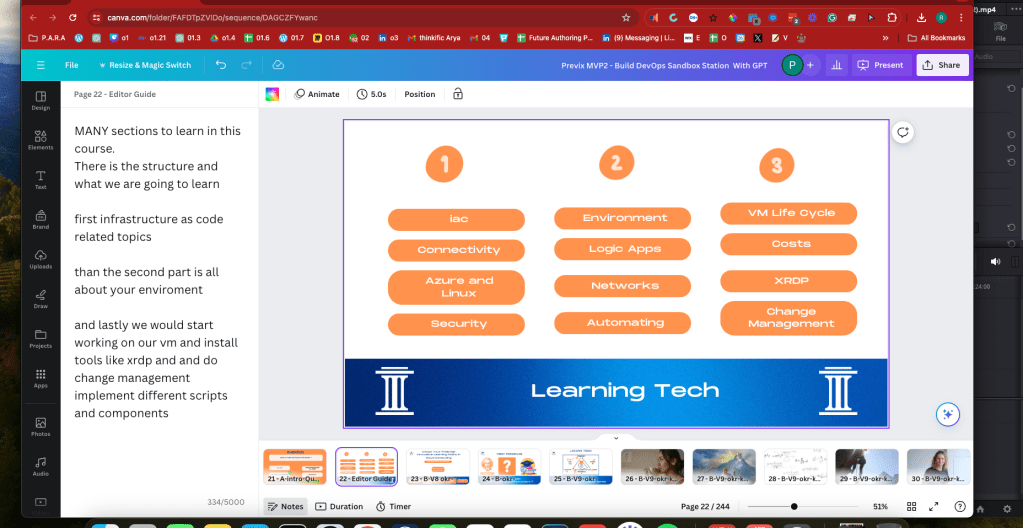
helper slides to give it to the editor
single object still not so great
Give them with the alternative
COLOR REFLECT IT AS WELL
Group left to right and recreate the objects for them to work with the animations
record slide by slide and line the words with the animations on click would be thing to help the edit process and flow of the animation
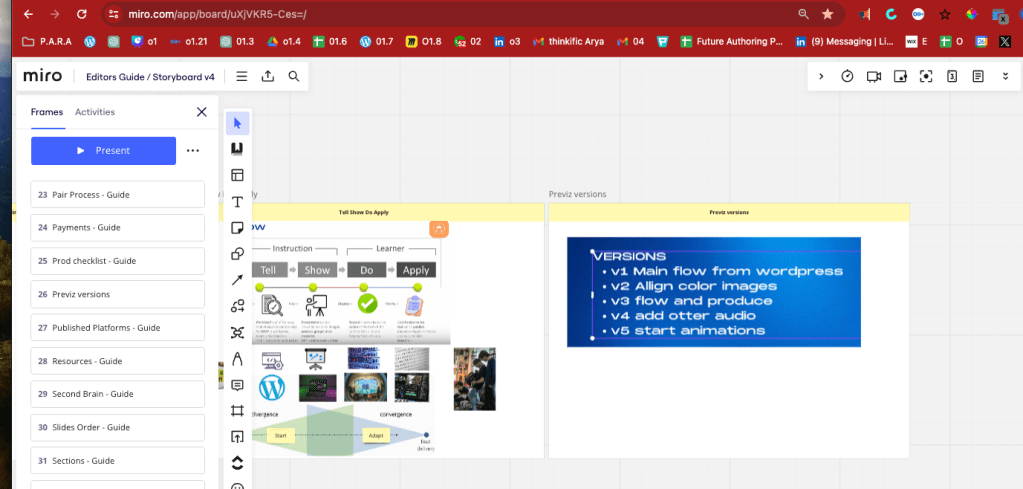
versions of the previx
helper implementations
Imported from rifaterdemsahin.com · 2024