Linux 24 todos
-
install with live debugger
-
check debug
-
connect xrdp
-
connect with openshift
logged it much easier but took more time
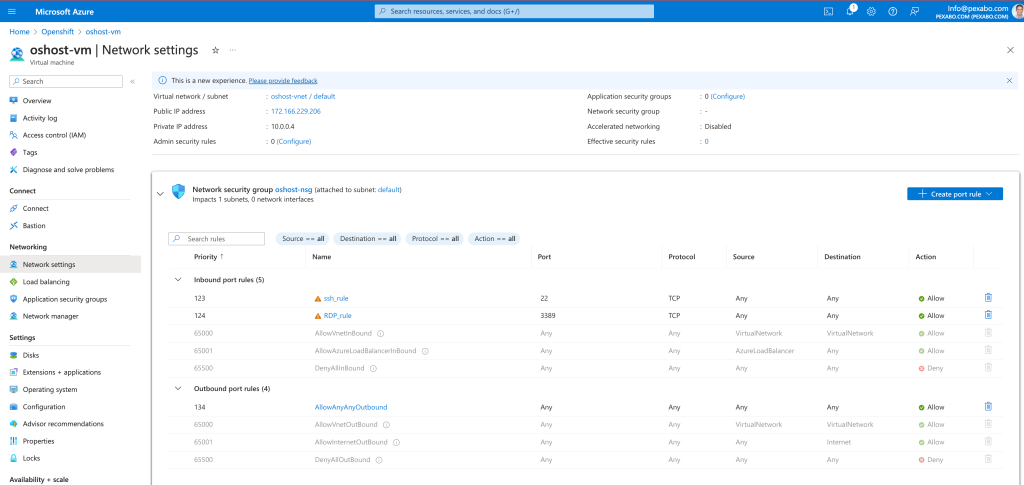
no internet
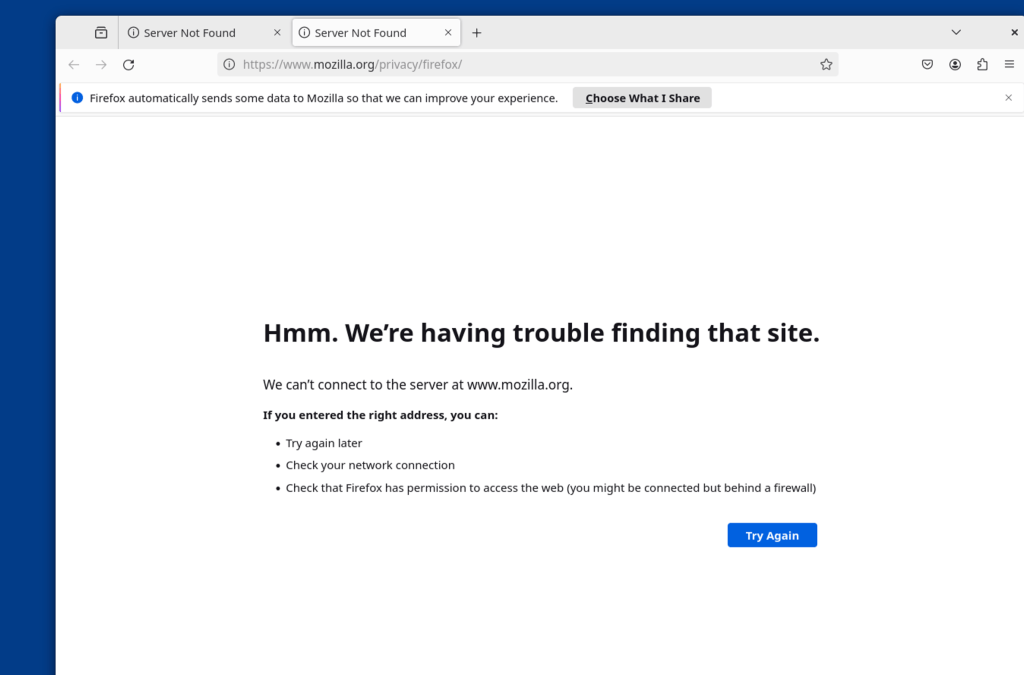
looks like outbound rules needed
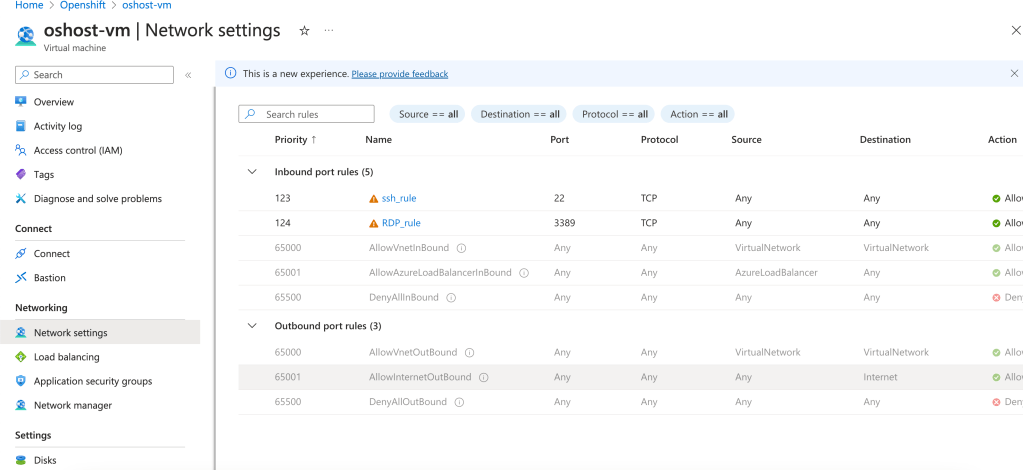
added rule for outbound
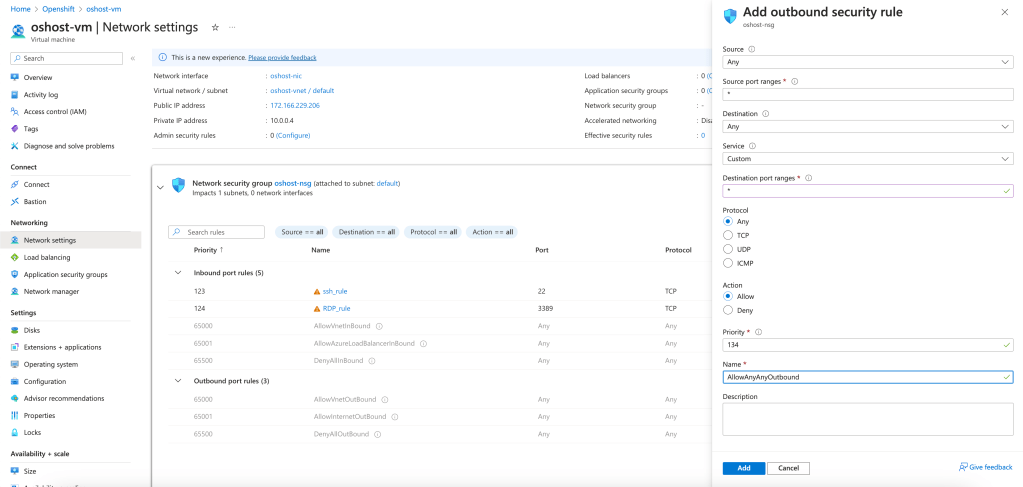
outbound
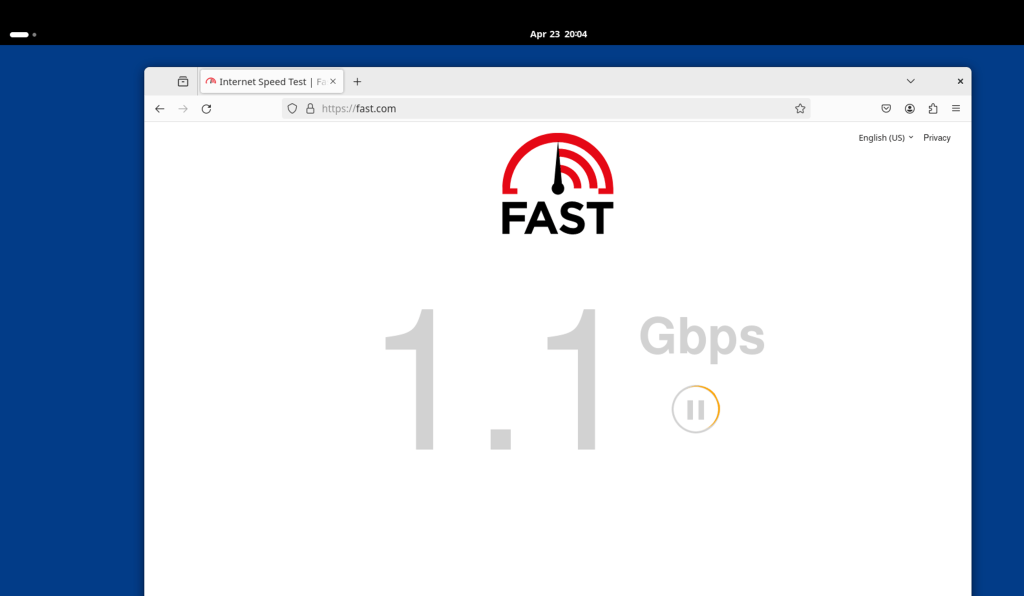
cloud very fast
needed rule set
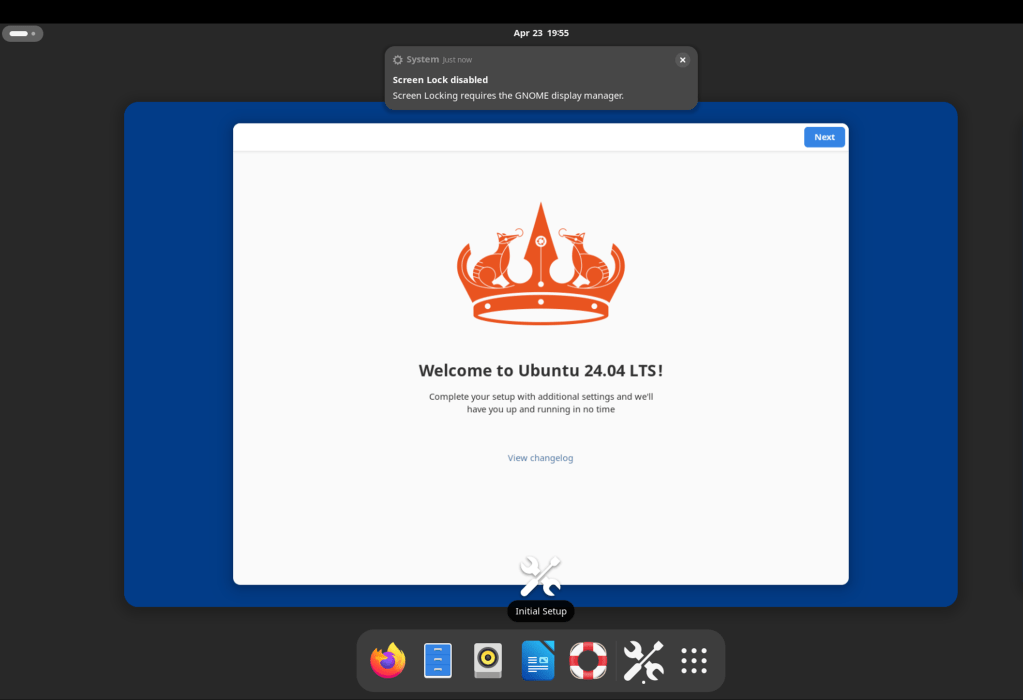
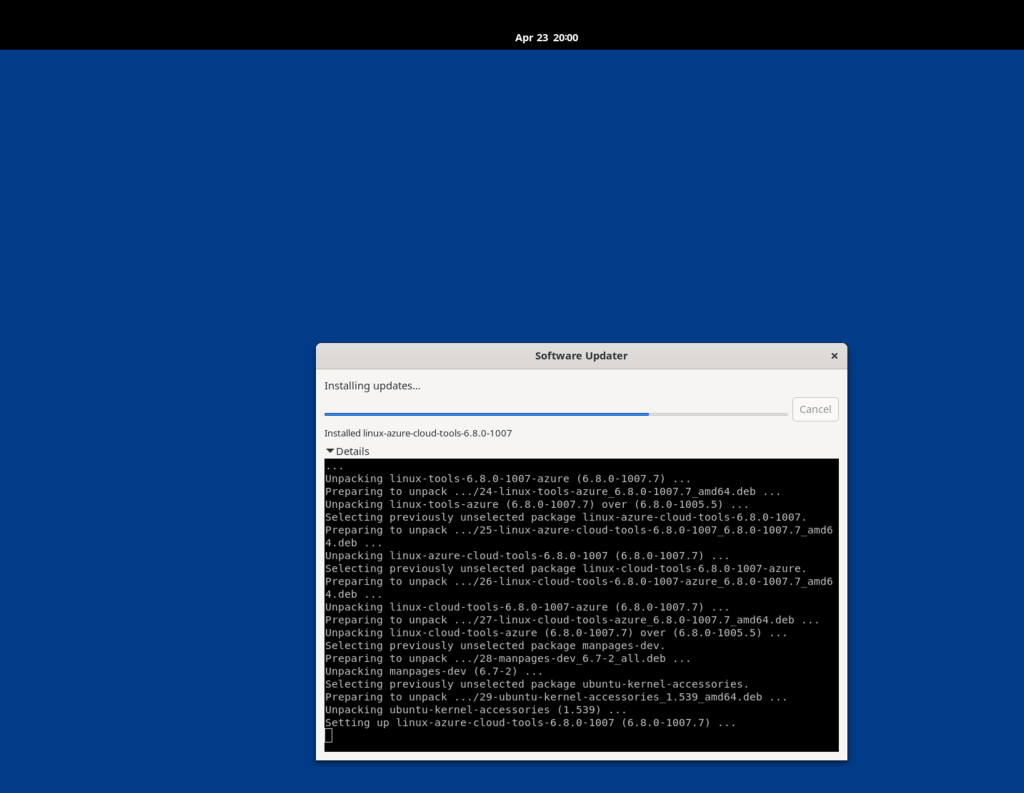
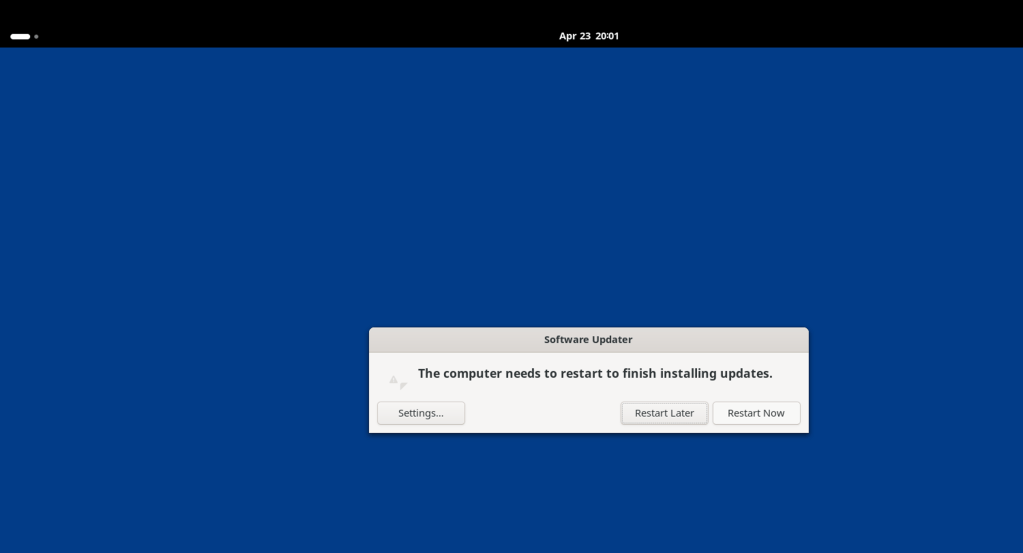
ubuntu easier to update
now openshift
Certainly! Based on the commands shown in the image, I'll create a simplified script that includes the steps for installing OpenShift on a developer's host. Please note that you might need to replace the URLs with the actual locations where the OpenShift installer and client can be downloaded, and provide the correct install-config.yaml, haproxy.cfg, and registry.yaml files for your specific configuration.
Here's a basic script:
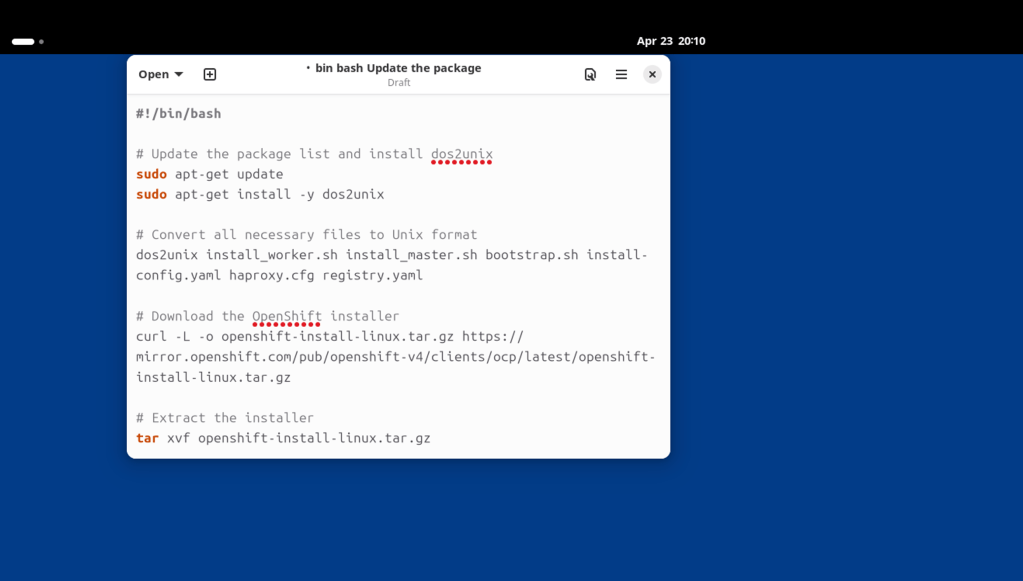
!/bin/bash
Update the package list and install dos2unix
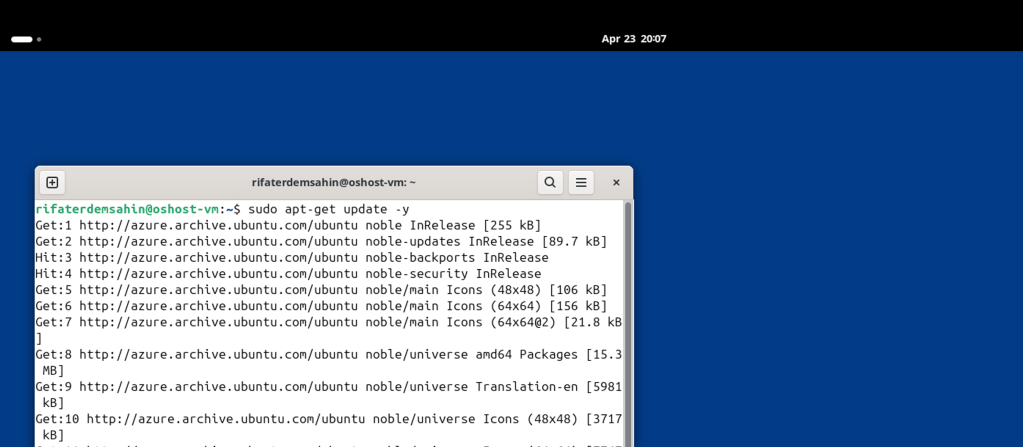
sudo apt-get update
sudo apt-get install -y dos2unix
Convert all necessary files to Unix format
dos2unix install_worker.sh install_master.sh bootstrap.sh install-config.yaml haproxy.cfg registry.yaml
Download the OpenShift installer
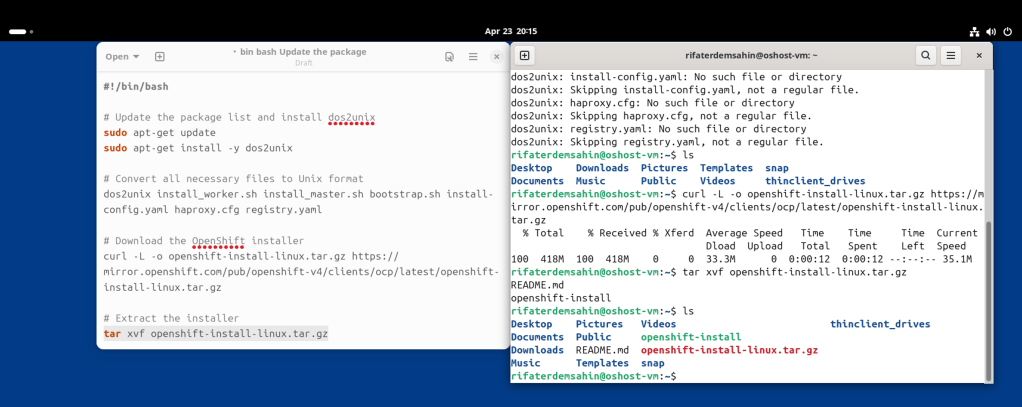
curl -L -o openshift-install-linux.tar.gz https://mirror.openshift.com/pub/openshift-v4/clients/ocp/latest/openshift-install-linux.tar.gz
Extract the installer
tar xvf openshift-install-linux.tar.gz
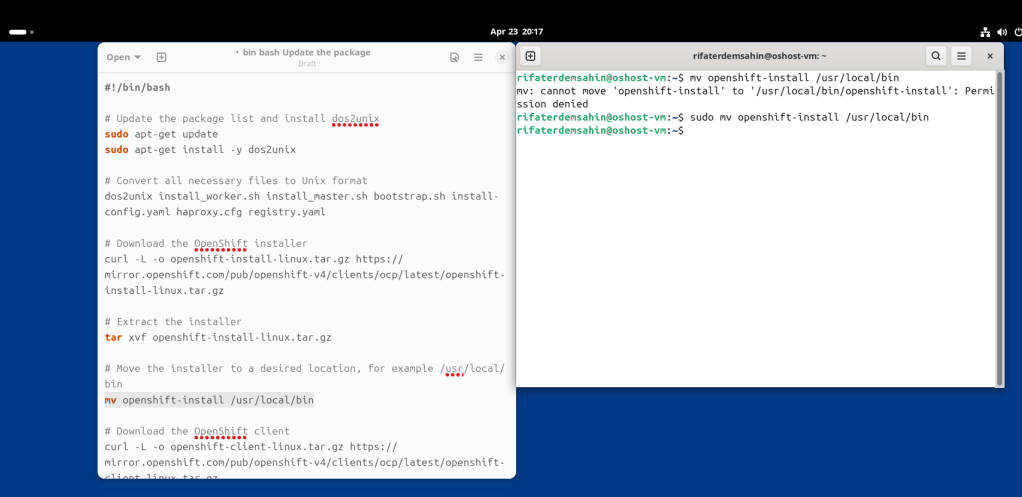
Move the installer to a desired location, for example /usr/local/bin
mv openshift-install /usr/local/bin
Download the OpenShift client
curl -L -o openshift-client-linux.tar.gz https://mirror.openshift.com/pub/openshift-v4/clients/ocp/latest/openshift-client-linux.tar.gz
Extract the client
tar xvf openshift-client-linux.tar.gz
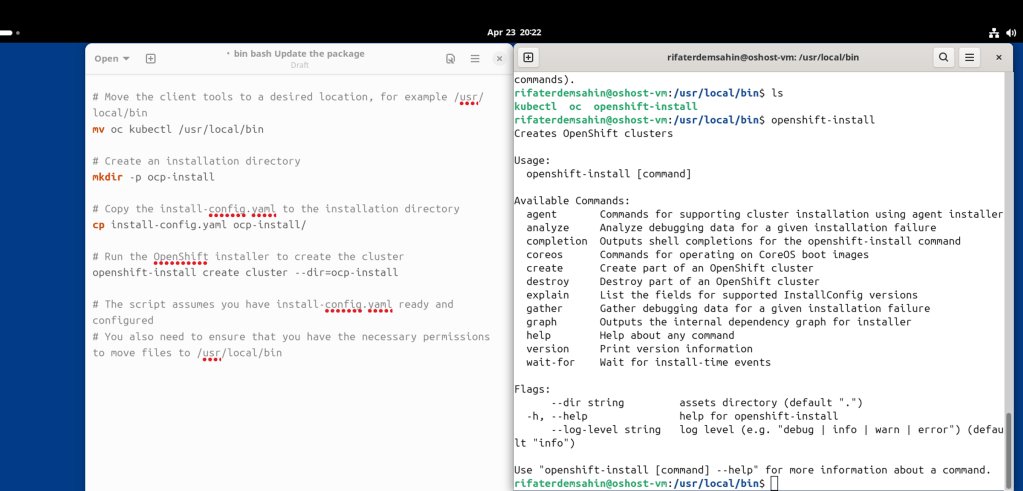
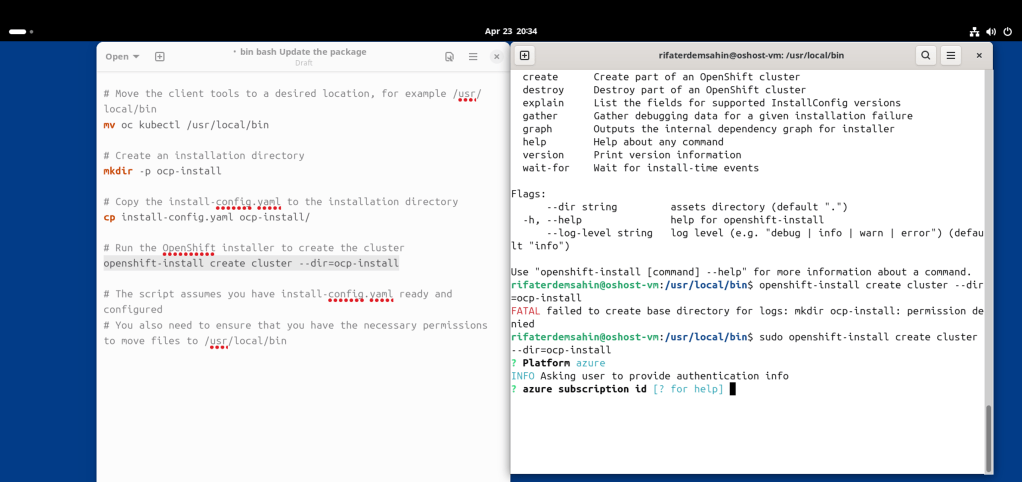
Move the client tools to a desired location, for example /usr/local/bin
mv oc kubectl /usr/local/bin
Create an installation directory
mkdir -p ocp-install
Copy the install-config.yaml to the installation directory
cp install-config.yaml ocp-install/
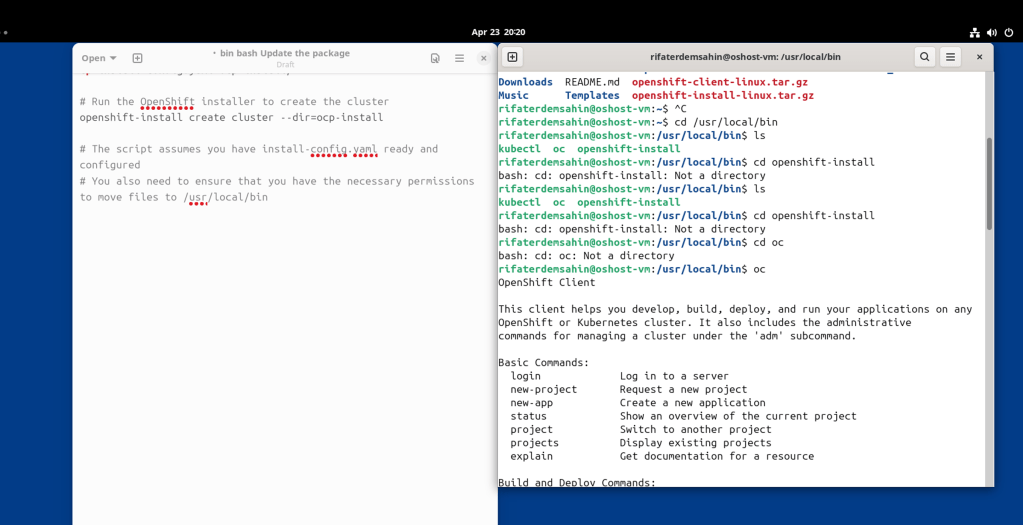
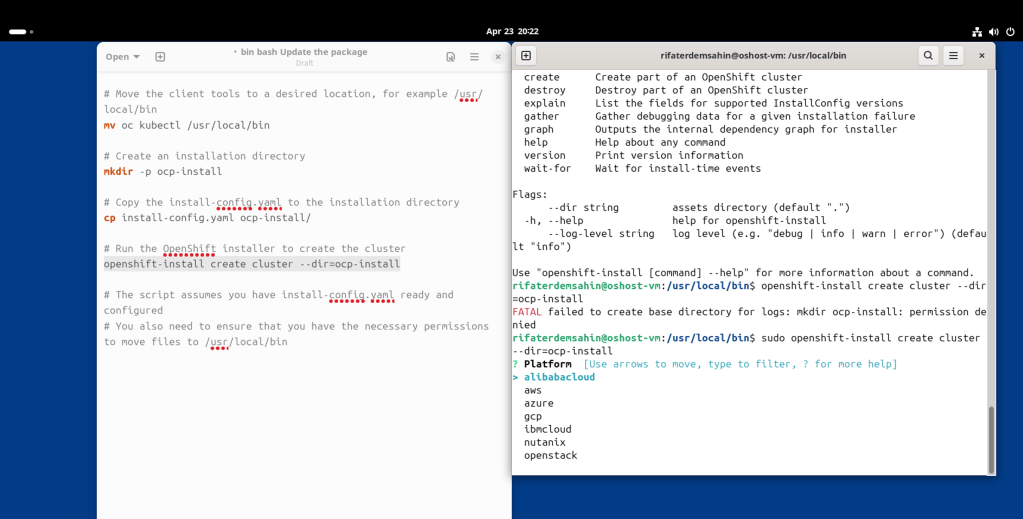
Run the OpenShift installer to create the cluster
openshift-install create cluster --dir=ocp-install
The script assumes you have install-config.yaml ready and configured
You also need to ensure that you have the necessary permissions to move files to /usr/local/bin
Save this script as install_openshift.sh and give it execute permissions using chmod +x install_openshift.sh. Run the script with ./install_openshift.sh. Remember to replace the placeholder URLs and ensure you have the actual configuration files ready before running the script. Also, adjust the file paths and names according to your setup.
Please be cautious and understand each step of this script before running it, as it will make changes to your system.
side by side implement

no files to unix format
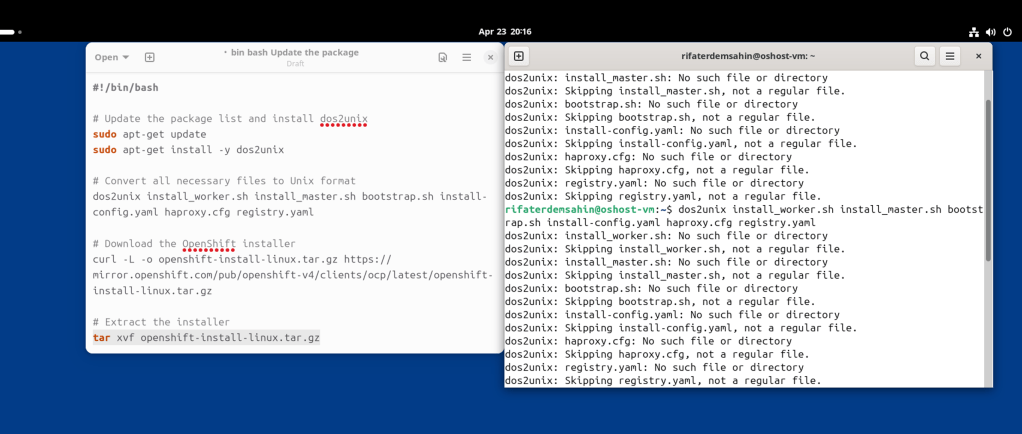
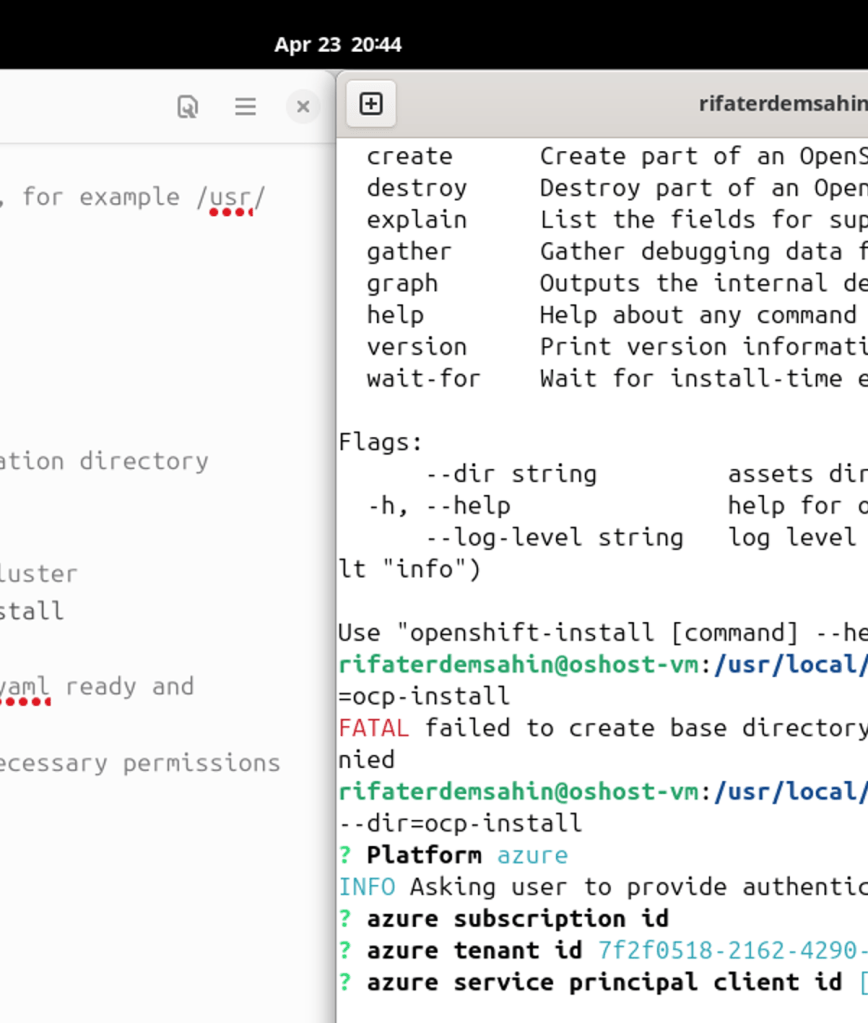
commands needs the sudo
Client is there oc
both files are there
Cloud selector
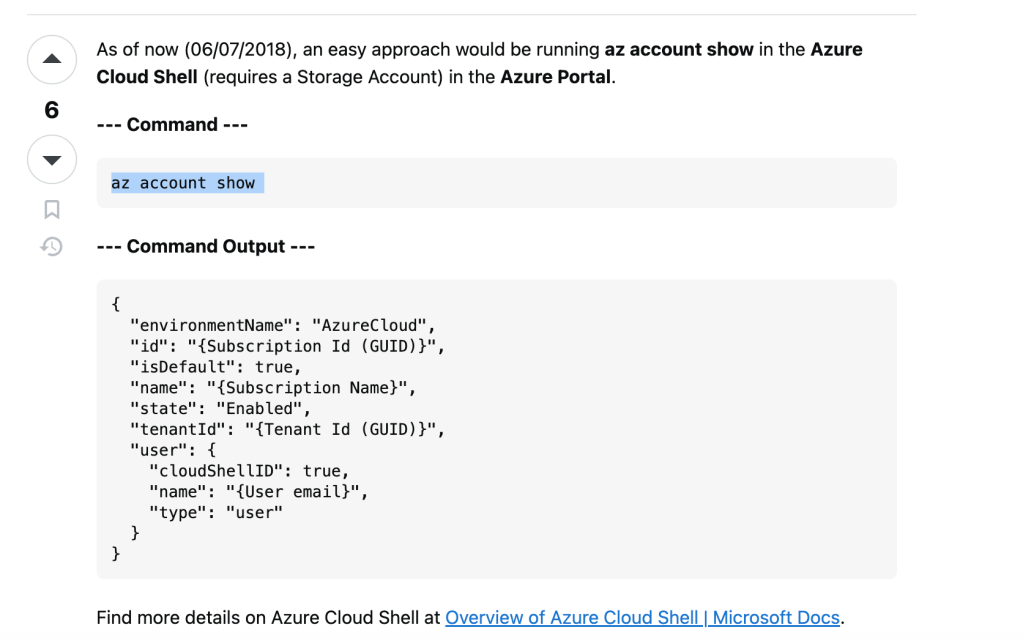
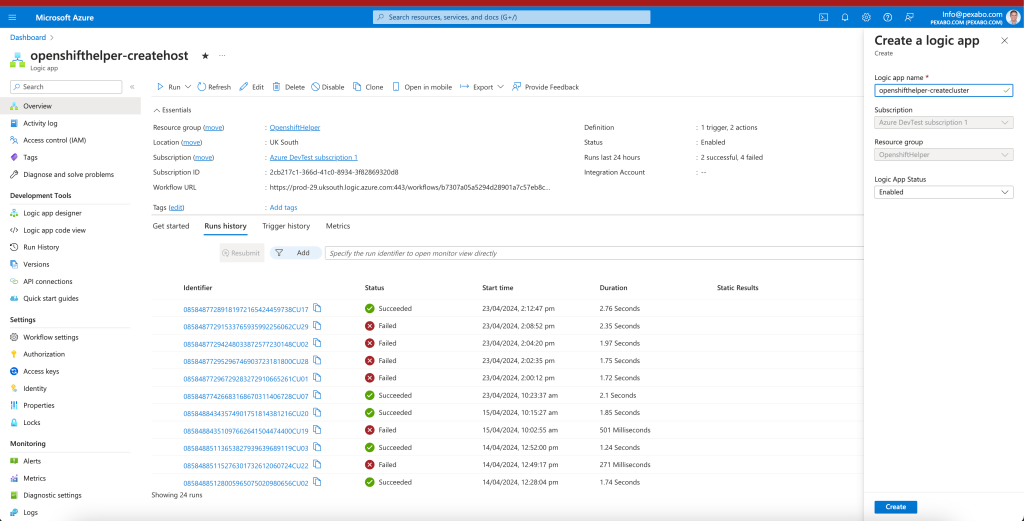
subs id
subsid
2cb217c1-366d-41c0-8934-3f82869320d8
tenantid
7f2f0518-2162-4290-bb93-ad03b676aba0
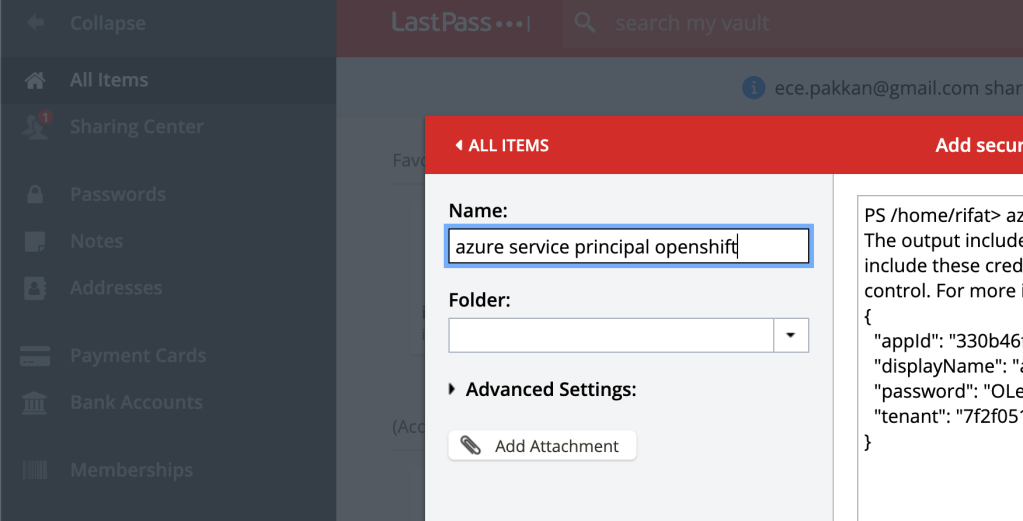
az ad sp create-for-rbac
https://learn.microsoft.com/en-us/cli/azure/azure-cli-sp-tutorial-1?tabs=bash
https://stackoverflow.com/questions/26384034/how-to-get-the-azure-account-tenant-id
https://pastebin.pl/view/0262912b
Recreate the machine with sudo commands and learn to run second script
After the client tool is ready there is a cluster >>> with ofcourse the dns and visual aspects installed with miro and canva ( storyboard and previx)
Imported from rifaterdemsahin.com · 2024